

Imagine your favorite photos floating in a perfect grid on your wall. Picture a chic collage of Polaroids brightening up your fridge. You can even display two pictures back-to-back on your desk. Modern acrylic magnetic frames make personalizing your space simple and fun. You get a sleek, frameless look that lets your memories shine.
Tipp: Get ready to unleash your creativity. You can make any space feel uniquely yours! 🎨
Gallery Walls & Grid Displays
Gallery walls turn a blank space into a personal statement. You can transform any wall into a stunning feature. The clear, borderless design of acrylic magnetic frames makes them perfect for creating clean and modern displays. Let’s explore a few popular styles you can create.
The Floating Grid Gallery
The floating grid is all about clean lines and perfect symmetry. It creates a high-end, gallery-like feel in your home. You can achieve this polished look with a little planning.
First, gather your tools. You will need a measuring tape, a pencil, and your hanging hardware. Then, follow these simple steps:
- Plan Your Layout: Arrange your frames on the floor. This helps you see the final look before making any holes. Decide on your spacing. A gap of 2-3 inches between frames usually looks best.
- Find Your Center: Your grid should be centered at eye level, which is about 60 inches from the floor. If you are hanging it above furniture, start the bottom row 4-6 inches above the piece.
- Mark Your Wall: Use paper cutouts of your frames and tape them to the wall. This lets you visualize and adjust the placement easily.
- Measure and Hang: Once you love the layout, measure where each nail or screw will go. Mark the spot, install your hardware, and hang your frames.
Pro Tip: To keep your grid interesting, mix up your photos! Combine wide shots with close-ups. You can also alternate between color and black-and-white images to avoid a repetitive look.
The Asymmetrical Story Wall
Do you want a display that tells your unique story? The asymmetrical wall is your creative playground. This style lets you mix different frame sizes and orientations to build dynamic collage photo displays.
Here’s how you can create a balanced and beautiful story wall:
- Start with a Centerpiece: Choose one larger piece to be your focal point. Arrange smaller frames around it.
- Mix It Up: Combine different frame sizes and shapes. You can even include other mementos like ticket stubs or postcards inside the frames.
- Keep Spacing Consistent: Try to keep the space between each item uniform. This creates a cohesive look, even with different sizes.
- Spread Elements Out: If you have a few frames of the same size or color, place them in different parts of the collage. This helps guide the eye across the entire display.
Before you hang anything, lay all your pieces on the floor. You can move them around until you find an arrangement that feels right to you.
The Vertical Stack
Do you have a narrow wall you’re not sure what to do with? A vertical stack is the perfect solution. This technique draws the eye upward and makes a small space feel more intentional and stylish.
You can use this method in tight spots, like the space between two windows or in a small corner.
Design Idea: For a simple, elegant look, stack two or three frames of the same size. For a more dynamic feel, mix different sizes but keep them centered in a single column. Using matching frames for all your photos will create a unified theme.
This approach turns an awkward, empty wall into a thoughtful design moment. It’s a simple way to add personality without overwhelming the room.
Creative Home Placements
Your walls are not the only place to show off your style. Acrylic frames are perfect for adding a personal touch to shelves, desks, and even your kitchen. Their clear design creates a clean look that never feels cluttered. You can place them on any flat surface to make your photos the star of the show.
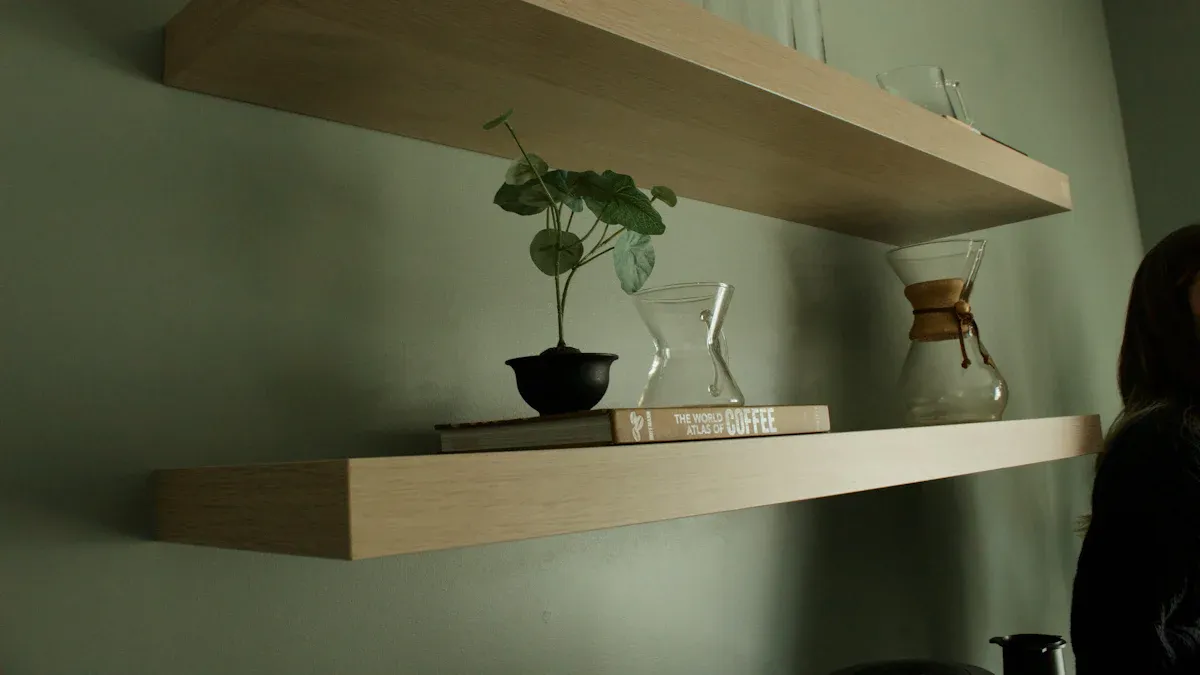
Layered Shelf & Mantel Displays
You can turn any shelf or mantel into a beautiful, layered display. This technique adds depth and makes your space feel professionally styled. The transparent nature of the frames lets them blend in, so your photos and mementos get all the attention.
Here is how you can create a stunning layered look:
- Start with a Base: Lean your largest frame against the back of the shelf. This piece will be your anchor.
- Add Smaller Layers: Place one or two smaller frames slightly in front of the largest one. You can even overlap them a little.
- Fan Outward: Arrange other frames of different sizes and orientations to the sides. Using an odd number of frames, like three or five, often creates a more balanced and visually pleasing group.
Designer’s Secret: Mix your frames with other objects to create a rich, textured look. This adds personality and visual interest. Try pairing them with:
- Houseplants or dried grasses for a touch of nature.
- Small sculptures, vintage pottery, or other trinkets.
- Sentimental items that tell your story.
- Candles to add warmth and ambiance.
The Interactive Desktop Mosaic
Brighten your workspace with a mosaic that inspires and reminds you of good times.
Your desk is the perfect spot for a personal photo collection. You can create an interactive mosaic of your favorite memories. Arrange several self-standing frames to display vacation snapshots, family portraits, or graduation photos.
The best part is how easy it is to change things up. The magnetic closure lets you swap images in seconds without any tools. You can update your display with seasonal photos or pictures from a recent event. For a truly creative touch, use a double-sided frame to show a photo on one side and a favorite quote or a handwritten note on the other. This creates a 360-degree display that is both beautiful and meaningful.
Kitchen & Office Utility
These frames are not just for decoration; they are incredibly practical, too. You can use them in your kitchen and office to protect important items while keeping them visible. The sleek design of acrylic magnetic frames makes them a stylish upgrade from old-fashioned holders.
Here are a few functional ideas:
- Protect Your Recipes: Place your favorite recipe card inside a frame while you cook. It stays clean from splashes and is easy to read.
- Modernize Your Fridge: Ditch the cluttered magnets and create a clean collage of photos, kids’ art, or shopping lists on your refrigerator.
- Organize Your Office: Use frames on your desk to hold to-do lists, motivational quotes, or team photos. Some are even designed to attach directly to fabric cubicle walls, keeping important papers in view but off your desk.
- Display Mementos: You can create a mini shadow box to display small keepsakes like ticket stubs, a baby’s hospital bracelet, or a pressed flower from a bouquet.
The Art of Curation & Personalization
Curation is where you become the artist of your own story. You can go beyond just displaying photos. You can mix in mementos, play with color, and use unique frame features to create a display that is 100% you.
Mixing Photos with Mementos
You can turn your frame into a mini shadow box for flat keepsakes. This adds a layer of storytelling to your display. The clear acrylic holds everything together, creating a beautiful collage effect.
Simply layer a special memento with your photo. This is perfect for preserving memories that are more than just a picture. Try mixing your photos with:
- Ticket stubs from a concert or movie
- A pressed flower from a special bouquet 💐
- A handwritten note or a postcard
- A baby’s hospital bracelet
Thematic & Color-Coordinated Groups
Grouping your photos by a theme creates a strong, unified look. You can tell a story about a family vacation, celebrate your pets, or create a timeline of your family’s heritage.
You can also use color to tie your display together. A coordinated color palette makes any collection feel intentional and stylish.
Color Tip: For a simple, harmonious look, pick photos with colors that are next to each other on the color wheel, like blues and greens. For a bold, high-contrast look, choose photos with colors that are opposite each other, like blue and orange.
Double-Sided & Freestanding Displays
Freestanding frames offer amazing flexibility, especially the double-sided ones. You can get creative with a 360-degree display on your desk or shelf. Show a family portrait on one side and your child’s latest drawing on the other. In an office, you can display a team photo on one side and a motivational quote on the back. It’s two displays in one!
Personalized & Small-Format Frames
You don’t always need a big frame to make a big impact. Small-format frames, like a 4×6 or 5×7 inch, are perfect for personalizing small spaces. You can tuck them into a bookshelf, brighten up your nightstand, or add a touch of warmth to your desk. These smaller frames also make fantastic, thoughtful gifts for friends and family.
Choosing & Maintaining Your Acrylic Magnetic Frames
You are ready to start your project! But first, let’s make sure you pick the perfect frames and know how to keep them looking great for years to come.
Selecting the Right Frame
Not all acrylic is created equal. The two main types are cast and extruded acrylic. Knowing the difference helps you choose the right frame for your needs and budget. Cast acrylic offers the best clarity and scratch resistance, making it ideal for your most prized photos. Extruded acrylic is a great budget-friendly option for everyday displays.
Check out this simple breakdown:
| Feature | Cast Acrylic | Extruded Acrylic |
|---|---|---|
| Klarheit | Highest optical clarity | Good clarity |
| Dauerhaftigkeit | More scratch-resistant | Scratches more easily |
| UV Protection | Often includes UV protection | Usually does not |
| Cost | More expensive | More affordable |
Quick Tip: If your frames will be in a sunny spot, look for cast acrylic with UV protection. This helps prevent your photos from fading over time.
Installation & Care Hacks
One of the best features of modern acrylic magnetic frames is how easy they are to install. Many use a magnetic mounting system. You just stick a small magnet to the wall, and the frame snaps right on. This gives you a clean, floating look with no visible hardware. Plus, you can easily move your frames around without damaging your walls.
Keeping your frames crystal clear is simple. You just need the right tools and techniques.
To clean your frames, follow these steps:
- Gently blow away any dust or use a soft microfiber cloth.
- Lightly spray a mix of mild soap and water onto a cloth.
- Wipe the frame gently in a circular motion.
- Buff it dry with a clean, dry microfiber cloth. ✨
To avoid scratches and damage, always use the right supplies.
| Do Use ✅ | Don’t Use ❌ |
|---|---|
| Microfiber cloths | Paper towels |
| Mild dish soap & water | Glass cleaners (like Windex) |
| Acrylic-safe polish | Cleaners with alcohol or ammonia |
You have seen how easy it is to create a dynamic story wall or use frames for functional art in your kitchen. Double-sided displays can even add a 360-degree story to your desk. Modern acrylic magnetic frames are a simple tool for unleashing your creativity and making any space feel like your own.
Now it’s your turn! Show us how you transform your space. Share your project online with the hashtag #MyFrameStory and inspire others. 📸
FAQ
How do I clean my frames without scratching them?
You can easily keep your frames looking new. Use a soft microfiber cloth with a little mild soap and water. Gently wipe the surface and buff it dry.
Important: Never use glass cleaners like Windex or paper towels. They can scratch or damage the acrylic.
Can I put things other than photos in these frames?
Yes, you absolutely can! You can frame flat mementos like concert tickets, postcards, or pressed flowers. This adds a personal, story-telling touch to your display. Get creative and mix your favorite photos with special keepsakes. 💐
Will the magnets damage my walls?
Most magnetic mounting systems use wall-safe adhesives. You can apply and remove them easily without leaving marks or peeling paint. This makes it simple to rearrange your display whenever you want a fresh look. Always check the manufacturer’s instructions first.
What’s the best way to hang multiple frames straight?
You can achieve a perfect line every time. Use a level and some painter’s tape to create a straight guideline on your wall. Align the top or bottom of your frames with the edge of the tape for a professional-looking installation.
See Also
Your Comprehensive Guide to Acrylic Table Stands
Acrylic Brochure Holders: Understanding Their Design and Uses
Acrylic Sign Holders: Exploring Their Features and Practical Applications
Selecting and Maintaining Your White Acrylic Trays
Edge-Lit Acrylic Signs: Principles, Design, and Practical Uses

