
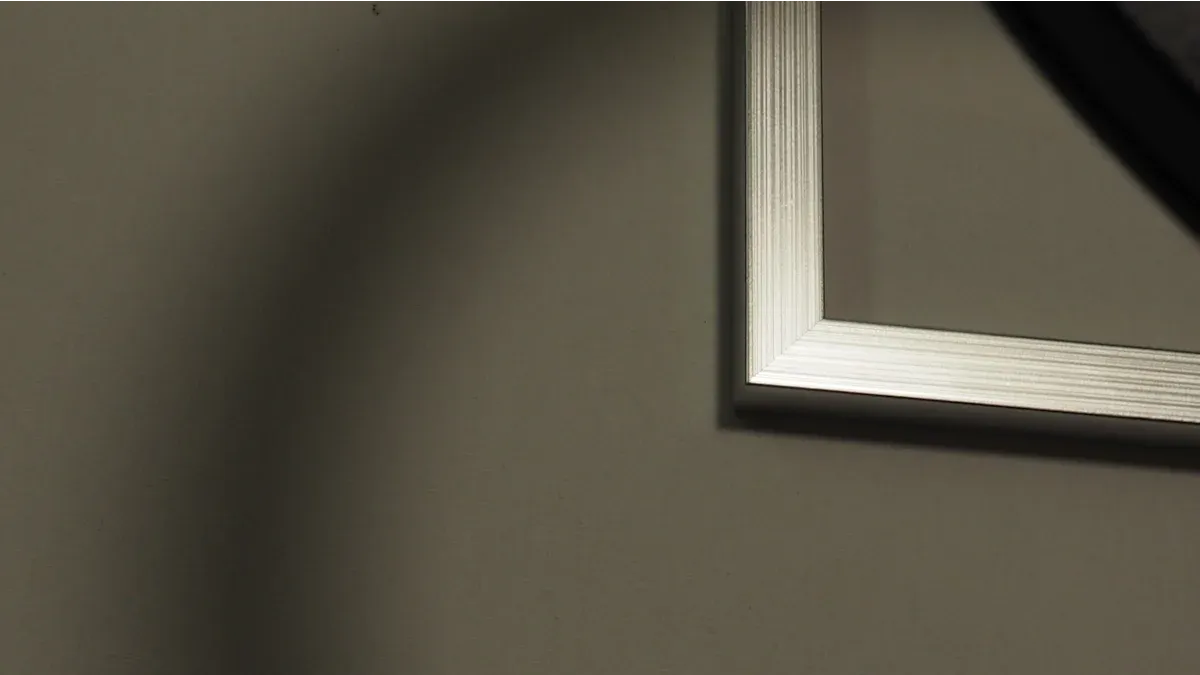
Trend Alert! 💡 The minimalist design of a floating frame is a popular trend for displaying artwork, creating a contemporary and polished look.
You secure a picture inside this frame by mounting it onto a backing board. Spacers then separate your artwork and the board from the glass. This simple separation is what creates the signature floating effect, making the piece appear suspended.
How a Floating Frame Creates the Illusion
The “floating” look is a clever visual trick. It relies on a few key components working together. You can master this technique by understanding how each part contributes to the final presentation. The process separates your artwork from the glass and the frame, creating depth and a dramatic shadow.
The Role of the Backing Board
The backing board is the foundation of your display. Your picture is attached directly to this board, not to the back of the frame itself. This mounting step is what holds your artwork securely in the center of the composition. For long-term protection, you should always choose an archival-quality backing.
Pro Tip: Choose Your Materials Wisely 🛡️ Using acid-free materials prevents your artwork from yellowing or deteriorating over time. Museum preparators often use specific types for their stability.
- Archival Coroplast: A lightweight, chemically inert plastic that does not absorb moisture.
- Archival Fome-Core®: A stiff board with archival paper surfaces that generates little static.
- Artcare Archival Foam Board: Another excellent acid-free foam option for mounting.
Creating a Gap with Spacers
Spacers are the secret to the floating effect. These hidden components create a gap between your mounted artwork and the glazing (the glass or acrylic front). This separation casts a soft shadow around your art, making it appear suspended. The depth of the spacer you choose determines the intensity of this shadow. You have several options for creating this space.
- EconoSpace Strips: You can place these plastic spacers around the artwork to create a uniform gap.
- Lifters: These are small strips of wood. You screw them to the base of the frame to raise the artwork, bringing it closer to the front.
- Platforms: A solid board platform provides the most support. It raises the entire piece and adds rigidity to the frame, which is ideal for thinner art panels.
Securing Art with Hinges
Professionals use a specific technique for hinging floating artwork on paper. This method, called a T-hinge, secures the art to the backing board. It is strong yet reversible, which is vital for preserving the value of your artwork. This float mounting process allows the paper to expand and contract naturally with changes in humidity.
Conservators prioritize reversible methods because they consider artwork irreplaceable. While some pressure-sensitive tapes are labeled “archival,” they can become difficult to remove over time and may damage the paper. True archival methods, like using starch paste and Japanese paper hinges, are easily reversible without harming the art.
For a simple and effective approach, you can use a T-hinge.
- Place two small pieces of archival tape (like rice paper tape) along the top edge on the back of your artwork.
- Position your artwork on the backing board.
- Place a second piece of tape across each of the first pieces, forming a “T” shape. This second piece sticks only to the backing board.
This T-hinge method holds the artwork securely from the top. It allows the piece to hang freely, preventing buckling while creating a beautiful floating artwork display inside the floating frame. This professional mounting technique ensures your art is both beautifully displayed and safely preserved within the frame.
Your Guide to a Float Mount Frame
Creating a professional-looking float mount frame is an achievable DIY project. This guide will walk you through the process step-by-step. Following these instructions for float mounting will ensure your artwork is not only beautifully displayed but also safely preserved for years to come.
Step 1: Choose Archival Materials
Your first step is the most important for protecting your artwork. You must choose archival-quality materials. Standard paper and boards contain a chemical compound called lignin. As lignin ages, it produces acid, which causes the paper to become yellow, dry, and brittle. This process is sometimes called chemical burning. Acid can also transfer from poor-quality backing boards to your artwork, leaving a brown line known as “mat burn.”
Archival framing, also called preservation framing, uses materials designed to prevent this damage from the start.
What to Look For 🛡️ Every component of your float mount frame should be acid-free. This includes the backing board, the tape for mounting, and even the frame itself.
Here is a breakdown of archival-quality materials:
| Material Type | Archival Standard/Characteristic |
|---|---|
| Metal Frames | Inherently acid-free and provide excellent stability. Anodized aluminum is a great choice. |
| Wood Frames | Require sealing tape on the inner lip (rabbet) to create a barrier between the wood and your artwork. |
| Mounting Boards | Use acid-free and lignin-free foam or mat boards. Brands like Crescent or Peterboro Museum offer conservation quality. |
| Hinging Tape | Look for acid-free paper tapes with a neutral pH adhesive, such as white cotton cambric cloth tape. |
| Glazing (Glass) | Choose acrylic with 99% UV resistance to protect your picture from fading. |
Using these materials ensures every part of the float mount frame protects your art from damage over time.
Step 2: Position the Artwork
Proper positioning creates the balanced, clean look of a float mount frame. Your goal is to center the artwork perfectly on the backing board, leaving an even border on all sides.
- Gather Your Tools: You will need a ruler, a pencil, and a paperweight (a clean, heavy cup works well).
- Measure Your Borders: Lay your artwork on the backing board. Measure the total extra space horizontally and vertically. Divide each measurement by two to find the correct border width for each side.
- Mark Guidelines: Lightly mark the corners of where your artwork will sit on the backing board with a pencil. These marks will help you place it accurately.
- Center the Artwork: Place your artwork within the guidelines you marked. Use a ruler to double-check that the borders are even on all sides.
- Secure It: Once the artwork is perfectly centered, place a paperweight in the middle of it. This prevents the art from shifting during the mounting process.
Step 3: Apply T-Hinges
Now you will attach the artwork to the backing board using T-hinges. This float mounting technique secures the art while allowing it to hang naturally and respond to humidity changes without buckling.
- Prepare Your Hinges: Tear, do not cut, two small pieces of archival paper tape. Tearing creates a soft, feathered edge that is less likely to show through your paper.
- Attach to Artwork: With your artwork still weighted down and face up, carefully lift one top corner. Attach one piece of tape to the back of the artwork along the top edge, leaving about half of the tape exposed. Repeat on the other top corner.
- Form the “T”: Lay the artwork back down. Place a second, slightly longer piece of tape across the first piece, sticking it directly to the backing board. This cross-piece should not touch the artwork itself. It forms the top of the “T” and secures the hinge.
- Check Your Work: The artwork should now hang securely from the two hinges at the top.
Avoid Common Mistakes! ⚠️
- Never use standard household tape. Its adhesive will yellow and can permanently damage your art.
- Do not place hinges on all four sides. Hinging only at the top allows the paper to expand and contract, preventing buckling.
- For very thin paper, consider using archival corners instead of hinges, as the moisture from tape adhesive can cause puckering.
Another popular method is the V-hinge, which is completely hidden behind the artwork. This technique is great if you are not using a mat, but it is more complex to apply. For most projects, the T-hinge is a strong and reliable choice.
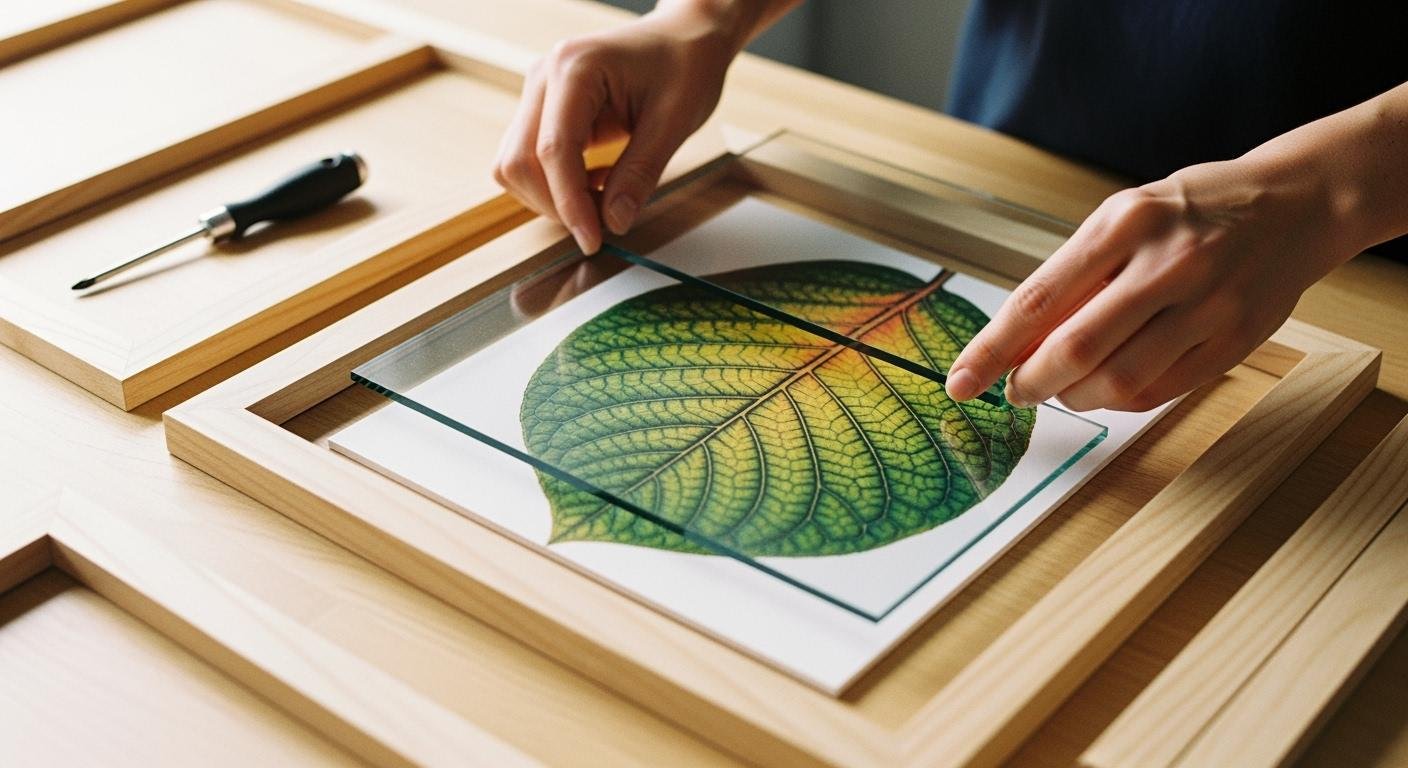
Step 4: Assemble the Frame
With your artwork securely mounted, you are ready for the final assembly.
- Clean the Glazing: Before you begin, clean your glass or acrylic. Spray cleaner onto a soft, microfiber cloth, not directly onto the surface. This prevents liquid from seeping into the frame. Wipe gently and use a dry part of the cloth to remove any streaks. For acrylic, use a special plastic cleaner and an anti-static cloth to reduce dust.
- Place the Spacers: Put your spacers around the inside edges of the frame. These strips create the gap that gives the float mount frame its signature depth.
- Insert the Board: Carefully place your backing board with the mounted artwork into the frame. The artwork should face the front, and the board should rest against the spacers.
- Secure the Back: Add the final frame backing and secure it using the points or tabs on the frame. Make sure everything is snug so the contents do not shift.
Your float mount frame is now complete! You have successfully created a beautiful, contemporary display that also provides archival protection for your valued artwork.
Framing Different Types of Art
The method for mounting artwork depends on whether you are framing a piece on paper or a stretched canvas. Each type requires a different approach to achieve the signature floating look. Understanding the correct mounting technique ensures your art is both secure and beautifully presented.
Mounting Art on Paper
Float mounting is the ideal choice for displaying artwork on paper, especially pieces with unique features. This process showcases the entire piece, including textured or deckled edges that a traditional mat would hide. It gives your artwork a dramatic, three-dimensional appearance. This method works well for many types of paper art.
- Original works like watercolors
- Prints, such as lithographs or screen prints
- Time-worn documents like old maps or letters
You will use the T-hinge method described earlier for this process. The weight of your paper influences your choice of materials. A heavier paper may need stronger hinges for proper support. This mounting process raises the artwork from the backing board, creating a professional, gallery-like effect.
Mounting a Stretched Canvas
A floating frame for canvas works differently. You do not use a backing board or glazing. Instead, you attach the canvas directly to the frame from behind. This leaves a clean, even gap between the edge of the canvas and the inner lip of the frame. The standard gap is about 1/4 inch, which creates a distinct shadow line.
You will place your canvas face down and position the frame over it. Center the canvas carefully, ensuring the gap is equal on all sides. You can use small cardboard shims to hold it in place. Then, you secure the canvas to the frame.
Hardware for Canvas Mounting 🧰 You can use several types of hardware for mounting artwork on canvas. Offset clips, also called Z brackets, are a popular choice. You screw one end into the frame and the other into the canvas stretcher bars. The size of the clip depends on the depth between your frame and canvas.
This method gives your canvas painting a clean, modern finish without covering any part of the image.
You now understand how a floating frame works. You mount your art to a backing board and use spacers to create a gap. This creates the signature floating effect. By choosing the right method for paper or canvas, you can achieve a professional look. Using archival, acid-free materials is crucial. These materials protect your art from damage and ensure it lasts for future generations to enjoy. You can confidently create a beautiful and safe display for your artwork.
PREGUNTAS FRECUENTES
Can you put a regular photo in a floating frame?
Yes, you can easily display a photo in a floating frame. You should mount the photo onto an archival backing board. This method showcases the entire image and creates a modern, gallery-style look. It is a great alternative to using a traditional mat.
Do you need glass for a canvas floating frame?
No, you do not need glass or acrylic for a canvas. The frame attaches directly to the canvas stretcher bars from behind. This open design allows the texture of the canvas to remain visible and avoids glare.
What is the best gap size for a floating frame?
The ideal gap creates a distinct shadow effect.
- For Canvas: A 1/4-inch gap is standard.
- For Paper: A 1- to 2-inch border between the art and the frame is common.
You can adjust the gap to match your personal preference and the size of your artwork.
How do you clean the inside of a floating frame?
Safety First! 🧼 Always spray cleaner on your cloth, not directly on the glass or acrylic. This prevents liquid from damaging your artwork. Use a soft, microfiber cloth to wipe the surface gently. An anti-static cleaner works best for acrylic glazing.
See Also
Your Comprehensive Handbook to Selecting and Using Acrylic Table Stands
Effortless Coffee Table Selection: A Designer’s Simplified Handbook for Your Home
Exploring Round Acrylic Tray Designs: Understanding Their Practical Applications and Styles
Acrylic Risers Unveiled: Defining Their Features, Functions, and Versatile Applications
Choosing and Maintaining White Acrylic Trays: A Complete Selection and Cleaning Guide

