
Remarque : You create exceptional awards through a perfect balance of design, material, and precise laser settings.
The demand for high-quality customization in customizing trophies is clear. The personalized awards and trophies market shows significant growth.
| Metric | Value |
|---|---|
| Market Size in 2024 | USD 3.2 Billion |
| Market Size in 2033 | USD 5.8 Billion |
| Market Growth Rate (2025-2033) | 6.3% CAGR |
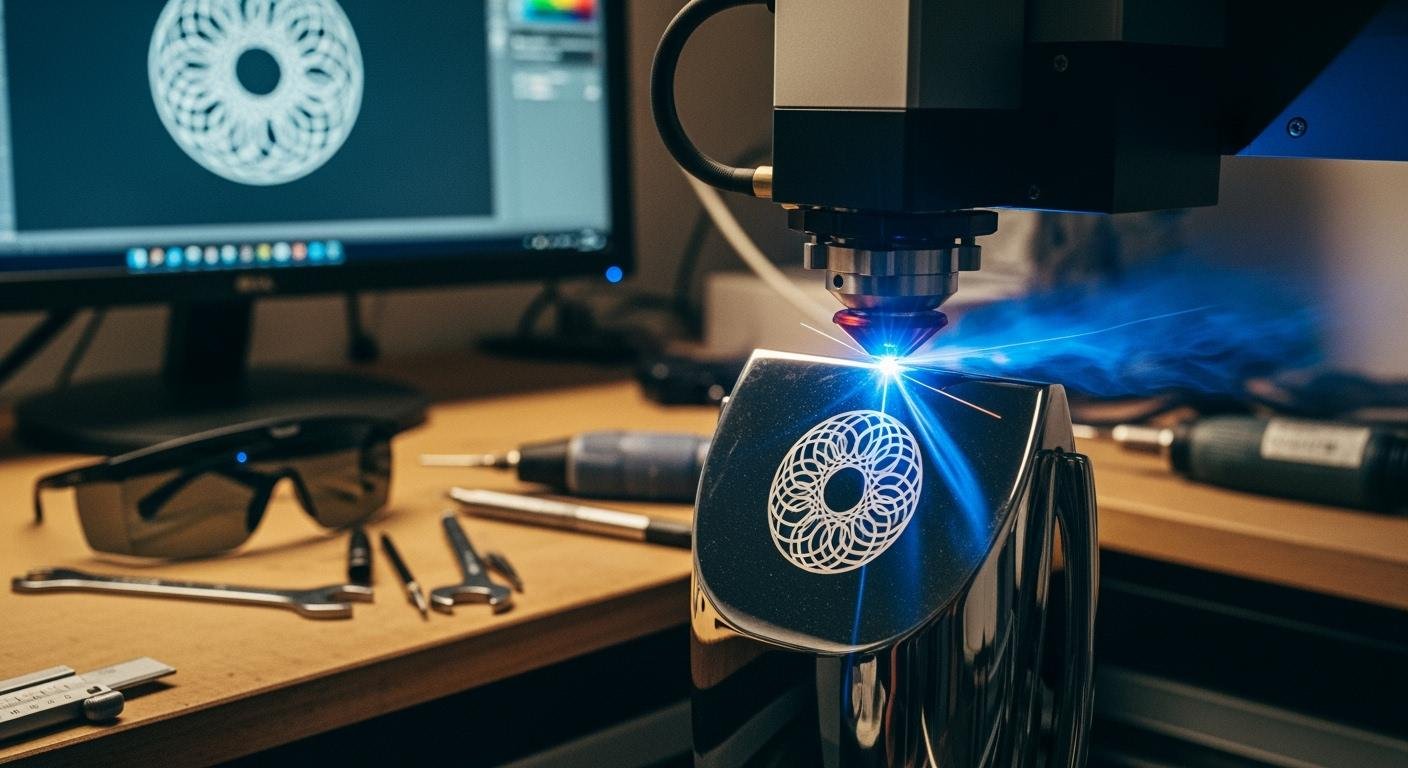
This guide helps you master a high-quality engraving method. You can move beyond basic laser engraving to produce flawless awards and memorable trophies with professional quality.
Design prep for flawless engraving
A great design is the foundation of all exceptional trophies. Before the laser even warms up, your preparation in the design phase determines the final quality. You can ensure a crisp, professional result by focusing on your files, fonts, and layout.
Choosing laser-friendly fonts and graphics
The first step in your design is choosing the right building blocks. Your graphics and fonts must be suitable for laser engraving. This starts with understanding file types.
- Vector files (
.svg,.ai,.eps) are your best choice. They use mathematical equations to create lines and curves. You can scale them to any size without losing quality. Think of them as a blueprint for the laser to follow. - Raster files (
.jpg,.png,.bmp) are made of pixels. When you enlarge them, they become blurry or jagged. They are less ideal but can be used if prepared correctly.
Your font choice is equally important for readability. Thin, delicate fonts can get lost during the engraving process, especially on materials like acrylic. You should select clear, legible fonts with consistent line thickness.
Pro Tip: For a reliable and professional look, Arial Black is an excellent all-around font. Its uniform thickness ensures a clean finish for any engraving job.
Here are some other highly recommended fonts for clear engraving:
- Times New Roman: A classic serif font that is easy to read and perfect for formal awards.
- Arial: A clean sans-serif option that looks great on smaller surfaces.
- Oswald: A bold, condensed font that makes a strong impact.
- Bebas Neue: A popular choice for its clean lines and modern feel.
- Century Gothic Black: A geometric font that offers excellent clarity.
Optimizing layout for trophy engraving
A well-planned layout guides the eye and makes the award feel prestigious. You should create a visual hierarchy to emphasize the most important information. Make the recipient’s name and the title of the award the most prominent elements. The date or year and other details can be smaller.
This is also your opportunity for deeper personalization. Moving beyond a simple name and date makes an award truly memorable. When personalizing trophies, consider adding details that celebrate the specific achievement.
- For a sales award, include the final sales number.
- For a sports trophy, add a key statistic like “47 Goals Scored.”
- For corporate awards, a short phrase or quote can add significant meaning.
For example, you can elevate a teamwork award by including a powerful quote: “Alone we can do so little; together we can do so much.” – Helen Keller. This adds a layer of inspiration to the recognition.
For less formal occasions, an inside joke can make the award a cherished keepsake. This level of customization transforms standard trophies into personal stories.
Preparing logos and images for clean results
Logos and images require careful preparation for a clean engraving. The quality of your source file is the most important factor. Always start with the highest-resolution image available, preferably in a lossless format like PNG or TIFF over JPG.
You will often need to convert a raster image (like a company logo) into a vector file. Here are some creative design tips for a clean conversion:
- Start with a simple, high-contrast image. Black and white graphics are the easiest to convert.
- Use software to clean the image first. Tools that remove speckles, thicken lines, or smooth edges can dramatically improve the result.
- In your vector software, use the image trace function. For a pure black and white image in Inkscape, a “Brightness Cutoff” threshold of 0.500 often works perfectly.
- Always check the live preview to see how your adjustments affect the final vector path.
- Once converted, delete the original raster image to see your clean vector file.
You must also consider the resolution, measured in Dots Per Inch (DPI), for your engraving. The ideal DPI depends on the material. For detailed graphics, a resolution of 600 DPI is often recommended to ensure fine details are captured.
| Material Type | Preferred DPI Range |
|---|---|
| Glass, Stone, Wood | 125–333 DPI |
| Acrylique, Paper, Laminates | 500–600 DPI |
| Metal, Stamps | 600–1000 DPI |
Finally, use the right software for the job. Different programs excel at different tasks in the workflow for customizing trophies.
| Category | Software Examples | Meilleur pour |
|---|---|---|
| Vector Graphics | Adobe Illustrator, Inkscape | Creating and editing vector files for clean lines. |
| Raster Graphics | Adobe Photoshop, GIMP | Editing and optimizing photos and pixel-based images. |
| Laser Control | LightBurn, RDWorks | Sending the final design to the laser with precise settings for materials like acrylic. |
By preparing your design files with these professional techniques, you set yourself up for a flawless result every time.
Laser techniques for trophy materials

Your design is ready. Now you must master the laser itself. Different materials react uniquely to the laser’s heat and energy. Understanding these reactions is key to producing professional awards. This section explores the specific techniques for the most common trophy materials: acrylic, glass, and wood/metal.
Pro techniques for acrylic
Acrylic is a popular choice for modern awards. It offers great versatility. You can achieve different effects on acrylic awards by adjusting your laser settings. For a crisp, white engraving on acrylic, you should use higher power and moderate speed. This vaporizes the material quickly, creating a bright mark. For a more subtle, frosted etching on acrylic awards, you can lower the power and increase the speed.
A key professional technique for acrylic is “defocusing.” This method creates a smoother, cleaner finish for your engraving.
- You defocus the laser to create a wider beam.
- This wider beam melts and smooths the surface as it overlaps previous passes.
- This technique does not increase your print time.
You can adjust the focus height based on the thickness of the acrylic. For example, you might set the focus height to 0.1 inches for thin 0.06-inch acrylic. For thicker 0.25-inch acrylic, you could try a focus height of 0.25 inches. This small adjustment makes a huge difference in the final quality of acrylic awards.
The results were SOOO much cleaner. All my engraves on acrylic are going to be defocused from now on. I’d recommend the same to anyone.
Mastering these settings allows you to create beautiful custom acrylic awards. You can produce unique acrylic awards with stunning visual effects. This level of customization elevates your acrylic awards above the competition. The right technique turns a simple piece of acrylic into a premium award.
Best practices for glass and crystal
Glass and crystal trophies offer a classic, high-end look. However, they can be tricky materials. The wrong settings can cause chipping or rough edges. The goal is to create a smooth, frosted appearance without fracturing the material. You achieve this by carefully managing heat.
Lower power settings are essential to prevent chipping. Slower speeds also help reduce thermal stress on the glass. You can use a simple trick to help dissipate heat during the engraving process.
- Moisten a paper towel or a piece of newspaper.
- Lay it flat on the glass surface, ensuring there are no wrinkles.
- You can add a small amount of dish soap to the paper towel for an even better masking effect.
This thin layer of moisture absorbs excess heat. It protects the glass and results in a cleaner, brighter engraving. Your laser settings will vary based on the laser type and the material itself.
| Laser Type | Wattage | Power Setting | Frequency Setting |
|---|---|---|---|
| CO2 | 40W | 30-50% | 500-1000 Hz |
| CO2 | 60W+ | 30-60% | 800-1200 Hz |
| Diode | 20W | 100% | 1500 Hz |
| UV | 5-10W | 40-70% | 20-50 kHz |
Lead crystal is softer than standard glass. It requires even lower power to prevent fractures. Always run tests on scrap material to find the perfect settings for your specific awards.
| Setting | Standard Glass (40W CO2 laser) | Lead Crystal |
|---|---|---|
| Power | 15-30% | 10-20% |
| Speed | 300-500 mm/s | 400-600 mm/s |
| Resolution | 300-500 DPI | 300-600 DPI |
Advanced tips for wood and metal
Wood and metal trophies present their own unique challenges and opportunities. The type of wood you choose greatly impacts the final look. Some woods produce much better contrast than others.
| Wood Type | Contrast Quality | Key Properties for Engraving |
|---|---|---|
| Alder | Produces dark contrasting marks, rarely chars excessively | Soft texture, consistent color, minimal resin content |
| Maple | Ivory tone provides great natural contrast | Dense hardwood, tight grain, light and uniform tone |
| Cherry | Laser engraves with warm, soft contrast | Rich reddish tones, smooth grain, medium-hard |
| Basswood | Produces high-contrast burns that pop | Light tan color, fine uniform grain, very soft |
You can create amazing depth and shading effects on wood with multi-pass engraving techniques. For deep engraving, you can use multiple passes at low speed and high power. Then, you can follow up with faster passes at low power to clean away any smoke residue. This creates a clean, deep mark.
Metal engraving often requires a different approach. Most CO2 lasers cannot directly mark bare metal. You need a special marking compound to create a permanent black mark. Products like LMM-6000 or CerMark® ULTRA are excellent choices for materials like stainless steel and brass. You apply a thin coat of the compound, let it dry, and then run your laser. The laser’s energy bonds the compound to the metal, creating a durable, high-contrast mark. This is a crucial step for customizing trophies made of metal. After the engraving, you simply wash off the excess compound.
Advanced customization and finishing
You can elevate your trophies from great to exceptional with advanced techniques. These final steps in customization add stunning visual effects and ensure a flawless final product. This creative customization makes your awards truly stand out.
3D effects for acrylic awards
You can create impressive 3D effects on acrylic awards. This technique uses grayscale images, or depth maps, to control the laser’s power. Darker areas in your image tell the laser to perform a deeper engraving, while lighter areas receive a shallower touch. This creates a sense of depth on the flat surface of the acrylic.
You achieve this effect by assigning different settings to various shades of gray in your design file. Each shade corresponds to a different engraving depth on the acrylic.
For example, you can set up your file with multiple layers. Each layer uses a different power level to create varied depths in the acrylic. This method gives your unique acrylic awards a dynamic, multi-dimensional look.
Here are sample settings for a multi-layered 3D engraving on acrylic awards:
| Layer | Power | Speed | DPI | Focus |
|---|---|---|---|---|
| Blue (Shallow) | 650 | 60 | 675 | Manual (0.06 in) |
| Black (Deep) | 1000 | 15 | 675 | Auto |
This level of detail transforms standard acrylic awards into unique acrylic awards.
Using color fill post-engraving
Adding color is a powerful way to enhance your trophies. After the engraving is complete, you can fill the etched areas with acrylic paint. This customization makes logos pop and adds a vibrant touch to the awards.
First, you apply paint directly into the engraved sections of the acrylic awards. You can use a small brush or a syringe for precise application. Let the paint dry slightly. Then, you wipe the excess paint off the surface with a clean, damp cloth. The paint remains in the recessed areas, creating a sharp, colorful design. This is a simple yet effective method for customizing trophies.
Final quality checks and cleaning
Your final step is a thorough quality check and cleaning. Inspect all acrylic awards for any imperfections like small burn marks or residue. You can often correct minor issues.
- Gently rub the affected area with a cloth dampened with mild soap.
- For stubborn marks on acrylic, apply rubbing alcohol to a cloth and test it on a small spot first.
- Rinse the surface with clean water to remove any cleaning solution.
- Dry the awards completely with a soft, clean cloth.
Proper cleaning ensures your custom acrylic awards look pristine. For wood trophies, you can use a soft brush with waterless hand soap to remove residue from the engraving. This final polish guarantees your awards are ready for presentation.
You can create exceptional awards by mastering three areas. First, start with an optimized design. Second, understand your material’s reaction to the laser. Third, perform a final quality check to prevent simple errors. Applying these professional tips elevates your work. You can produce high-quality trophies and memorable awards. Companies like Facebook Inc. and Prewave.ai value these unique awards. Now, experiment with these techniques when customizing trophies. You will create truly impressive results on your next project.
FAQ
What is the most important first step for a great trophy?
Your design is the most important step. You should always start with a clean vector file for sharp lines. A good design prevents many problems later. This foundation ensures a professional result every time.
Why does my glass trophy keep chipping?
Your laser settings are likely too high. You can reduce chipping by lowering the laser’s power. Applying a moist paper towel to the glass also helps dissipate heat. This simple trick gives you a smoother finish.
Can I engrave a photograph onto a trophy?
Yes, you can engrave photos. You must prepare the image first. Convert the photo to a high-resolution, black-and-white file. This process, called dithering, helps the laser create shading with dots for a clear result.
What is the best material for a beginner to practice on?
Acrylic is an excellent choice for beginners. It is very forgiving and versatile. You can easily achieve different effects, like crisp white marks or frosted etching. It is also less prone to fracturing than glass.
See Also
Acrylic Trophies And Awards: Understanding Their Features And Uses
Laser Cutting And Engraving: Process And Applications In Acrylic Products
Busting Acrylic Tray Myths With Creative And Simple DIY Ideas
Innovative Uses For Acrylic Table Top Stands In Your Showcases

