
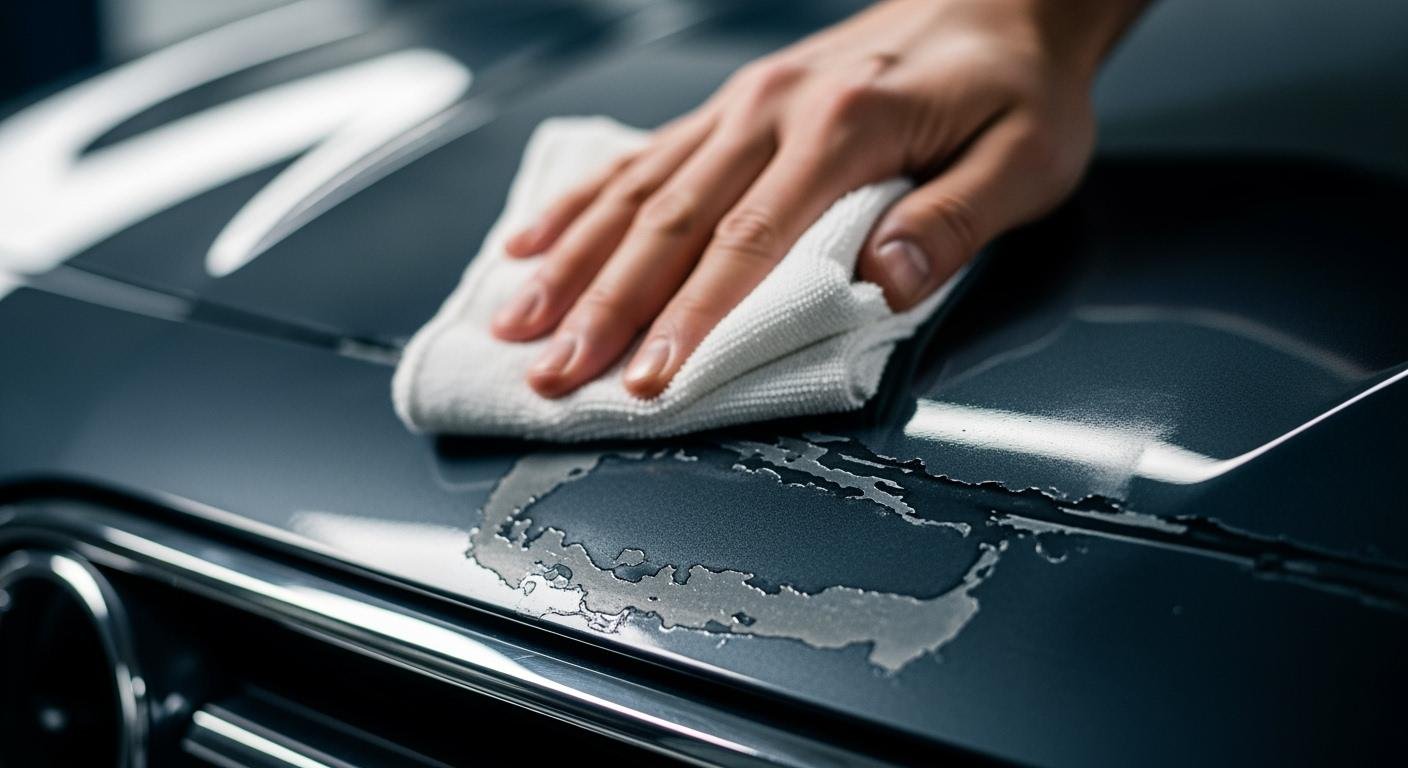
You can add rubbing alcohol to your acrylic paint. It acts as a solvent. This solvent breaks down the binder holding your acrylic paint together. This action changes your acrylic paint in three main ways:
- It thins the acrylic paint.
- It makes the acrylic paint dry much faster.
- It changes the final finish of the paint.
This effect creates interesting textures for art projects. However, you should know it damages the paint’s quality over time.
How Rubbing Alcohol Affects Paint Chemistry
When you mix acrylic paint with a solvent like alcohol, you change its fundamental chemistry. The results go far beyond simply thinning your acrylic paint. You are actively breaking it down. Understanding this chemical reaction helps you know why your acrylic paint behaves so differently.
Breaking Down the Acrylic Binder
Your acrylic paint contains three parts: pigment (color), water, and a binder. The binder is a polymer emulsion that acts like a glue. It holds the pigment particles together and makes the acrylic paint stick to your canvas. This binder is a complex chain of molecules.
- It often contains copolymers of ethenyl ethanoate (vinyl acetate).
- It also uses propenoate (acrylic) esters.
When you add a high-proof isopropyl alcohol, it dissolves this binder. The alcohol breaks apart the polymer chains, separating them from the pigment. This action compromises the very structure of the acrylic paint.
Accelerating Drying Time
You will notice your acrylic paint dries much faster with alcohol. This happens because alcohol evaporates more quickly than water. Water molecules attract and stick to each other, slowing their escape into the air. Alcohol molecules do not stick together as strongly, so they evaporate with ease. When you mix acrylic paint with alcohol, the alcohol quickly disappears, forcing the water out with it and leaving behind a rapidly drying layer of acrylic paint.
Altering the Paint’s Finish
The final look of your acrylic paint suffers when you use rubbing alcohol. The broken binder cannot form a strong, clear film as it dries. Instead of a vibrant, durable surface, you get a different result.
Remarque : The rapid evaporation causes the paint film to shrink too quickly. This process creates stress, which can lead to a weak, powdery film or even fine cracks. The increased acidity from the alcohol can also make the finish on your acrylic paint appear cloudy and dull. This is why this technique is not recommended for professional artwork where longevity is important.
Creative Uses for Alcohol and Acrylic Paint
Despite the risks, you can use alcohol to create stunning effects that are difficult to achieve with other methods. You are essentially trading permanence for visual flair. This makes the following methods perfect for DIY craft projects, art journaling, or experimental pieces where longevity is not the primary goal.
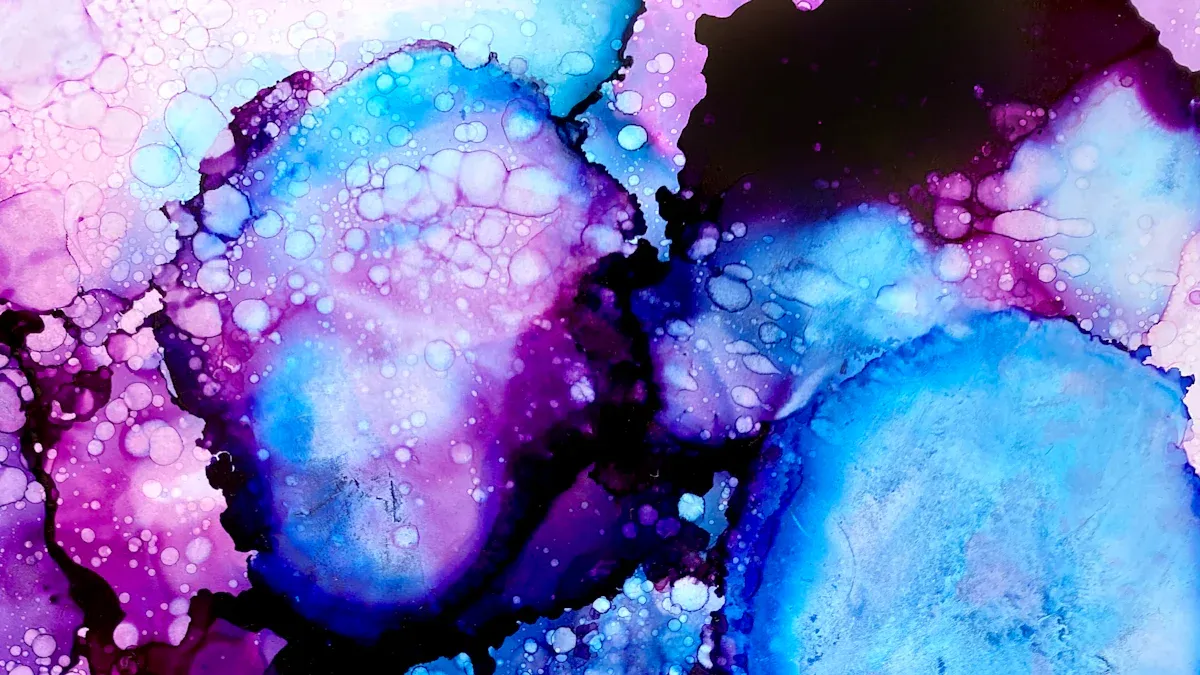
Creating Cells in Acrylic Pouring
You have likely seen the mesmerizing cells in acrylic pouring. Alcohol is a popular tool for creating them. The science behind this effect is simple. Alcohol makes the acrylic paint it touches lighter. It also evaporates very quickly. This rapid evaporation pulls surrounding colors together, forming the distinct cell shapes.
Pro Tip: Using isopropyl alcohol typically creates a pattern of many small cells. You can spritz it from a spray bottle or drip it onto your wet acrylic paint to see the reaction happen instantly.
Achieving Watercolor and Wash Effects
You can thin your acrylic paint to create a watercolor-like wash. Using alcohol instead of water for this purpose produces a different result. The main difference is the drying time. Alcohol dries much faster, which prevents colors from becoming muddy and helps maintain their intensity.
To try this technique, you can mix acrylic paint with alcohol.
- Start with a 1:1 ratio of acrylic paint to alcohol.
- You can adjust the mixture as you go.
- Do not let the alcohol content exceed 20% of your total mixture. Too much alcohol will weaken the paint’s ability to stick to the surface.
This method is great for adding visual texture to a wet wash of acrylic paint. You can use a dropper to apply the alcohol for more control.
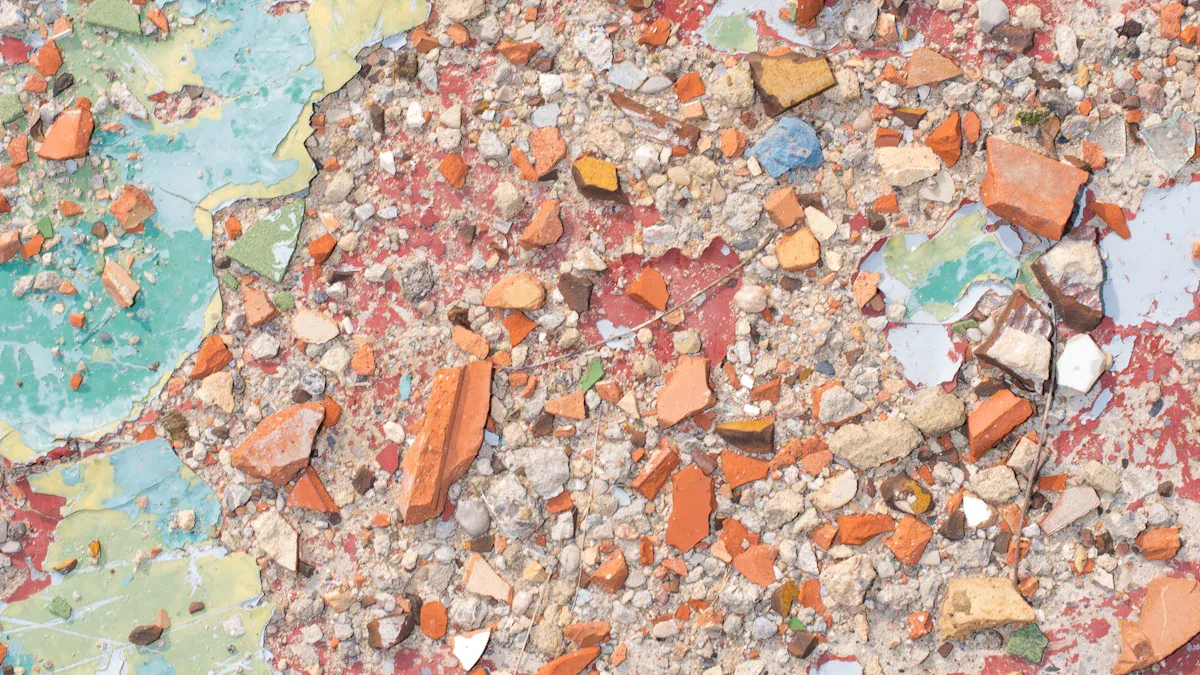
Making Unique Backgrounds and Textures
Alcohol is fantastic for making unique backgrounds for your DIY art projects. You can create fascinating porous textures and colorful blends. Dripping alcohol onto wet acrylic paint can produce a beautiful marbled effect or allow underlying colors to peek through. This art technique is a fun way to experiment with your acrylic paint.
Here is a simple DIY method to create a tortoise-shell pattern:
- Use thinned acrylic paint or high flow acrylic paints for this project.
- Paint your surface with one color and let it dry completely.
- Apply a second, different color of wet acrylic paint over the top.
- Next, you will dip a dowel in rubbing alcohol.
- Carefully let drip on your page over the wet layer of acrylic paint.
- Repeat the process with a third and fourth color of acrylic paint, dripping alcohol onto each wet layer to build up a rich, textured look.
This technique is a great way to make abstract backgrounds for cards or journal pages. You can mix acrylic paint with alcohol to explore countless creative possibilities for your next DIY project.
The Risks of This Art Technique
While the creative effects are exciting, you must understand the significant risks of this art technique. Adding alcohol to your acrylic paint is a destructive process. It compromises your materials, your results, and even your health. Before you try this method for your next DIY project, you should know the potential downsides.
Compromised Paint Integrity
The biggest risk involves the integrity of your acrylic paint. As you learned, alcohol breaks down the acrylic binder. This binder is the glue that holds the pigment and ensures the acrylic paint sticks to your surface. When you damage it, you create a weak, brittle paint film.
This weak film has poor adhesion. Adhesion is the paint’s ability to bond to a surface. Without a strong bond, your acrylic paint can easily peel or flake off over time. This is a common issue in lower-quality paints, and you are essentially creating the same problem by adding a solvent. The breakdown can also cause poor cohesion, where the pigment and binder separate within the paint layer itself. This leads to a chalky or powdery finish.
Did You Know? Rubbing alcohol is so effective at dissolving the binder that people use it as a paint stripper for dried acrylic paint. It softens old, hard paint, making it goopy and easy to scrape away. This shows just how damaging this technique is to the structure of your acrylic paint.
Inconsistent and Unpredictable Results
You will find that results can be very unpredictable when mixing alcohol and acrylic paint. This technique is not a reliable science. The outcome depends on several factors:
- The brand of your acrylic paint.
- The concentration of your alcohol (70% vs. 99% isopropyl).
- The temperature and humidity of your room.
- The surface you are painting on.
Different brands of paint have different chemical formulas. Some may react dramatically to alcohol, while others might show little effect. This lack of control makes the technique unsuitable for professional work where you need consistent results. It is best reserved for experimental DIY art where you can embrace the unexpected. This is a fun but chaotic process for any DIY creator.
Health and Safety Precautions
You must not overlook the health and safety risks. Isopropyl alcohol produces fumes that can be harmful if you inhale them in a poorly ventilated space.
Inhaling the vapors can cause immediate symptoms. You might experience:
To protect yourself, you should always work in a well-ventilated area. Open a window or use a fan to keep fresh air circulating. OSHA guidelines emphasize proper ventilation as a key way to reduce solvent levels in the air and keep you safe.
You also need to protect your skin. Prolonged contact with alcohol can cause dryness and irritation. You should always wear protective gloves.
| Glove Material | Recommended for Isopropyl Alcohol? |
|---|---|
| Nitrile | Oui |
| Butyl | Oui |
| Latex | Limited Use |
Using nitrile gloves is a simple and effective way to keep your hands safe during your DIY projects.
You should view rubbing alcohol as a powerful solvent, not a standard thinner for your acrylic paint. You trade the long-term quality of your acrylic paint for unique textures and fast drying times. For experimental pieces, this is a valid choice, much like how artists such as Robert Rauschenberg used non-traditional materials. However, for reliable and lasting results, art conservators would advise using professional mediums. Choose the right tool for your acrylic paint project to ensure you get the finish and durability you want from your acrylic paint.
FAQ
Can you use hand sanitizer instead of rubbing alcohol?
No, you should not use hand sanitizer. It contains gels, fragrances, and moisturizers. These extra ingredients will make your paint sticky, prevent it from drying properly, and can cause unwanted clumps. Stick to pure isopropyl alcohol for the best results in your DIY projects.
What is the best ratio of alcohol to paint?
There is no single perfect ratio. The amount you use depends on the effect you want. For creating cells, you only need a few drops. For a wash, you can start with a 1:1 mix. Always test on a small area first.
Will a varnish or sealer protect the finished painting?
A sealer adds a protective layer against dust and moisture. However, it cannot fix the poor bond between the paint and the surface. The weakened paint may still flake off underneath the varnish over time. Your artwork’s lifespan will remain compromised.
What is the difference between 70% and 99% alcohol?
The percentage refers to the alcohol’s concentration, which affects how it reacts with your paint.
- 99% Alcohol: Evaporates extremely fast. This creates smaller, sharper, and more defined cell patterns.
- 70% Alcohol: Contains more water and evaporates slower. This produces larger, softer, and more blended effects.
See Also
Unveiling Acrylic Tray Truths: Simple DIY Projects to Debunk Common Myths
Buffing and Sanding Acrylic: Understanding the Process and Its Manufacturing Role
Flame Polishing Explained: Its Process, Definition, and Diverse Acrylic Applications
Choosing and Maintaining White Acrylic Trays: Your Essential Selection and Cleaning Guide
Anti-static Acrylic Demystified: Principles, Definitions, and Practical Applications Explored

