
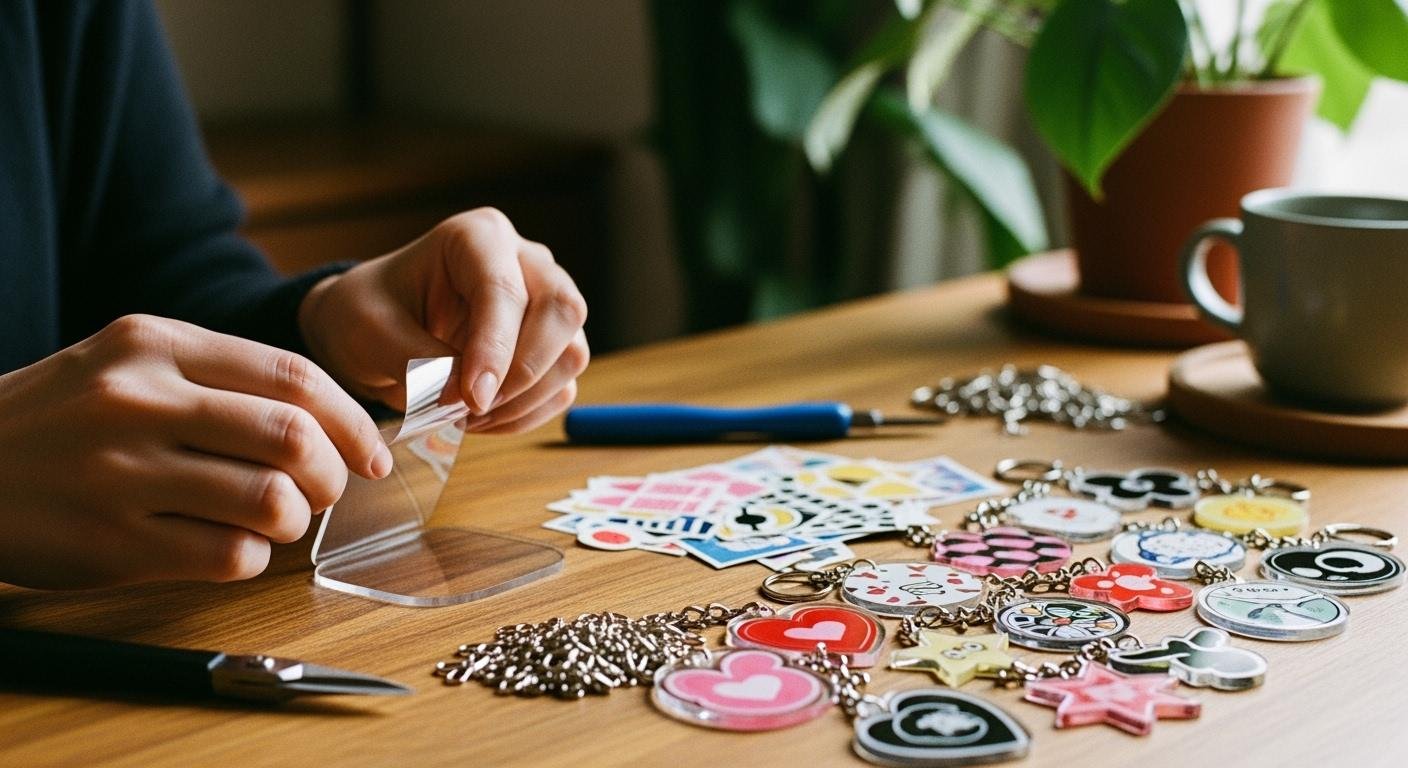
You want to make acrylic keychains at home? It’s easier than you think! Acrylic keychains let you add your own style, making each one unique. Many people love diy acrylic keychains for gifts and fun projects. Acrylic is light, strong, and perfect for custom designs.
- 26% of people in the U.S. enjoy diy and arts & crafts as a hobby.
- 71% call themselves crafters, with 85 million finishing at least one diy project last year.
Acrylic keychains are a favorite because they last, look great, and come in so many shapes. When you make acrylic keychains, you get to create something special that stands out from the rest.
Supplies for DIY Acrylic Keychains
Before you start your diy keychains, you need the right supplies. Here’s a quick look at what you’ll use for this fun project:
| 素材 | Description |
|---|---|
| Permanent Vinyl | Great for designs; sticks well and lasts long. |
| Acrylic Blanks | Clear acrylic keychain blanks, usually about 2 inches, perfect for decorating. |
| Key Chain Clips | Make it easy to attach your keychains to bags or keys. |
| Jump Rings | Connect the acrylic piece to the keychain; 8mm size works best. |
Acrylic blanks and shapes
You can find acrylic keychain blanks in many shapes—circles, hearts, stars, and more. These blanks are sturdy and clear, making them perfect for showing off your designs. Before you decorate, sand the edges lightly for a smooth finish. This step helps your diy keychains look professional.
Adhesive vinyl, sticker paper, and tools
For decorating, you can use adhesive vinyl or sticker paper. Adhesive vinyl sticks well and lasts for years, even outdoors. Sticker paper is easier to remove but doesn’t last as long. Here’s a quick comparison:
| 特徴 | Adhesive Vinyl | Sticker Paper |
|---|---|---|
| 耐久性 | Lasts several years | Shorter lifespan |
| Application | Sticks fast after curing | Easy to remove |
You’ll also need transfer tape, weeding tools, and scissors. If you want to cut custom shapes, a Cricut or laser machine helps a lot. Always resize your designs to fit your acrylic blanks before cutting.
Tip: Work in a well-ventilated area and wear safety goggles when cutting acrylic. Sharp tools give you cleaner edges and help prevent accidents.
Keychain hardware and accessories
Finish your diy keychains with key chain clips, jump rings, and fun extras like tassels or charms. These accessories make your acrylic keychains stand out and easy to use.
How to Make Acrylic Keychains Step-by-Step
Ready to start your diy keychains? Let’s break down each step so you can create acrylic keychains that look amazing and last. This project is fun and easy to follow, even if you’re new to crafting.
Design and resize artwork
You begin by designing your artwork. You can use digital tools like LightBurn, which lets you engrave text and customize shapes. Other programs work well too, but LightBurn makes resizing and positioning simple.
Here’s how you set up your design for acrylic keychains:
- Create your file with layers for the front and back. Name them cmyk-front and cmyk2-back.
- Reverse your front artwork so it prints correctly behind the acrylic.
- Set your resolution to at least 300 DPI and use CMYK color mode for bright, clear colors.
- Clean up the edges of your design. Smooth lines help your diy keychains look professional.
- Align the back side with the front using a clipping mask.
Tip: Always resize your artwork to match the acrylic blank. If you skip this, your design might shrink or stretch and not fit right.
Cut and weed vinyl or sticker paper
Once your design is ready, you cut it out using a Cricut, laser machine, or scissors. Cutting and weeding are important steps for clean diy keychains.
Here are some best practices for cutting and weeding:
| Tip | Description |
|---|---|
| Use a sharp blade | A sharp blade helps you avoid tearing vinyl and keeps your cuts crisp. |
| Use a light pad | A light pad makes it easier to see cut lines, especially in dim rooms. |
| Cut off excess vinyl | Remove extra vinyl as you weed to keep your workspace tidy and prevent messes. |
| Place a weed box | Add a rectangle around your design in the software. This makes weeding easier and saves vinyl. |
Note: If you use sticker paper instead of vinyl, you can skip the weeding step. Sticker paper is easier for beginners, but it doesn’t last as long.
Apply transfer tape and attach to acrylic
Now you need to transfer your design onto the acrylic blank. Transfer tape helps you move vinyl or sticker paper without stretching or tearing it.
Follow these steps to avoid air bubbles and get a smooth finish:
- Try the wet application method. Spray the acrylic with water and a tiny bit of dish soap before applying the vinyl. This lets you reposition and stops bubbles.
- Start from one edge. Lay the vinyl down slowly, smoothing as you go.
- Use a squeegee or application tool. Press from the center outward to push bubbles away.
- Take your time. Rushing can trap air and ruin your diy keychains.
- If bubbles appear, poke them with a pin and smooth them out.
Tip: If the vinyl doesn’t stick well, clean the acrylic with isopropyl alcohol and water. Let it dry completely. You can use a primer if needed.
Assemble keychain hardware
You’re almost done! Now you attach the hardware to finish your acrylic keychains.
Here’s how you assemble the hardware:
- Use pliers to open the jump ring.
- Slide the jump ring through the hole in your acrylic blank and then through the keychain ring.
- Close the jump ring tightly so it stays secure.
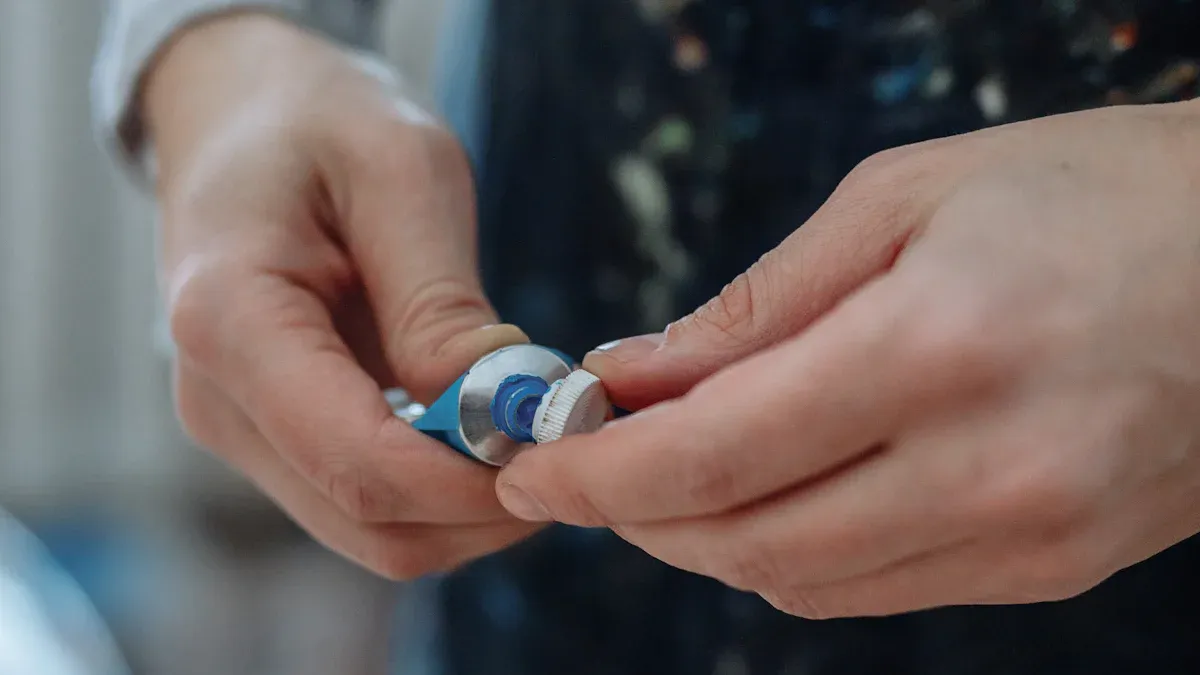
- For extra strength, add a drop of glue to the jump ring.
Slip joint pliers or specialized key fob pliers work best. If you want to protect your acrylic, place batting scraps along the plier teeth.
Common mistakes can happen during assembly. If you drill too fast, the acrylic can crack or melt. Always drill slowly and use washers to spread out the pressure. Avoid overtightening screws and never use self-tapping screws.
| Mistake | Solution |
|---|---|
| Driving screws without drilling | Drill holes first to prevent cracking. |
| Using metal-thread screws | Use proper fasteners to avoid damage. |
| Drilling too fast | Drill slowly to keep acrylic cool. |
| No clearance or washers | Use washers to reduce stress. |
| Overtightening | Tighten gently to avoid cracks. |
Note: Support both sides of the acrylic when drilling. This stops vibration and keeps your diy keychains safe.
Alternative methods and troubleshooting
You can try other ways to make acrylic keychains. Resin is a popular choice. You resize and cut your photos, mix and pour resin, place your picture inside, and let it cure. Once it hardens, add hardware and finish your project.
If your vinyl doesn’t stick, clean the surface well. Use isopropyl alcohol and water. Let it dry. If you still have trouble, try a primer or adhesion promoter. Press the vinyl firmly and smooth out bubbles.
Tip: Practice makes perfect. If you make mistakes, don’t worry. You can peel off vinyl and try again. Each diy project helps you learn new tricks for better keychains.
Tips to Craft Custom Acrylic Keychains
Personalization ideas
You can make custom acrylic keychains that stand out in so many ways. Try using them as party favors that match your event theme. They also work great as place cards—just add names and let guests take them home. Want to show team spirit? Create bag charms with club logos or team names. Teachers love personalized acrylic keychains with their names or a special message. You can even turn them into luggage tags with bold designs for easy spotting at the airport.
Here are more creative ways to craft custom acrylic keychains:
- Bridesmaid proposals with names and wedding dates
- Gift tags that double as keepsakes
- Classroom rewards for students
- Stocking stuffers for the holidays
Mix up your designs with contrasting colors and clear fonts for easy reading. Add glitter, holographic effects, or glow-in-the-dark features for extra fun. Frosted or translucent acrylic gives a modern look.
Tip: Package your personalized keychains in custom packs with a display card and a clear bag. This makes your gifts look special and keeps them safe.
Troubleshooting and best practices
You want your personalized acrylic keychains to look professional. Follow these steps for a clean finish:
- Leave pieces in place after cutting to keep them organized.
- Prepare your design files as TIFFs and use spot white ink for bright prints.
- Test print on scrap acrylic before the final run.
- Align each acrylic piece carefully over your design.
- Use a dab of glue to secure the key ring.
If you see bubbles, smooth them out with a squeegee or poke them with a pin. Clean your keychains by removing them from the ring, rinsing with lukewarm water, and wiping gently with a soft cloth. Store them in a soft pouch and avoid harsh cleaners.
Note: Acrylic lasts a long time, but recycling options are limited. Try to reuse or repurpose your custom keychains when possible.
You can try new acrylic keychain designs and techniques. Experimenting lets you create custom keychains that show your personality. Practice helps you get better and make cool projects like engraved quotes or layered shapes. Share your creations with friends or gift them for birthdays, anniversaries, or weddings.
よくあるご質問
How do I start a keychain project for beginners?
You can start with simple shapes and basic vinyl designs. This keychain project for beginners helps you learn the steps without feeling overwhelmed.
Can I make acrylic keychains without a Cricut or laser machine?
Yes! You can use scissors and sticker paper. This method works well for beginners who want to try making keychains at home.
How do I keep my acrylic keychains from getting scratched?
Store your keychains in a soft pouch. Wipe them gently with a soft cloth. Avoid using harsh cleaners or rough surfaces.
See Also
10 Innovative Ideas for Decorating Small Acrylic Trays
Debunking Acrylic Tray Myths with Simple DIY Solutions
Guide to Choosing and Maintaining White Acrylic Trays

