
Have you got a collection of cute stickers, washi tape, and gems? It’s no surprise photocard holders are so popular, with fans on TikTok always finding new ways to show off their collections. Personalizing holder items is a super fun way to create a unique display for your favorite idol’s photocard. You can turn a simple acrylic frame into a completely personalized treasure. Let’s get creative and make some custom designs for that special photocard!
Prep and Tools for Personalizing Your Holder
Before you jump into decorating, a little prep work makes all the difference. Proper preparation is the first step to a great design and ensures your final creation looks clean and professional. Taking a few minutes to get everything ready will make the process of personalizing holder items much smoother.
Peeling the Protective Film
Most new acrylic holders come with a thin protective film to prevent scratches. You need to remove this before you start decorating. Peeling it off can be tricky, but here are a few easy ways to do it without damaging the surface:
- Use Your Fingernail: Carefully lift a corner of the film with your nail. Once you have a good grip, you can peel it back slowly.
- Try Adhesive Tape: Press a piece of strong tape onto a corner of the film. When you lift the tape, it should pull the film up with it.
- Soak in Warm Water: If the film is really stubborn, you can soak the acrylic piece in warm water for a few minutes. This often loosens the adhesive, making the film easy to remove.
Choosing the Right Adhesives
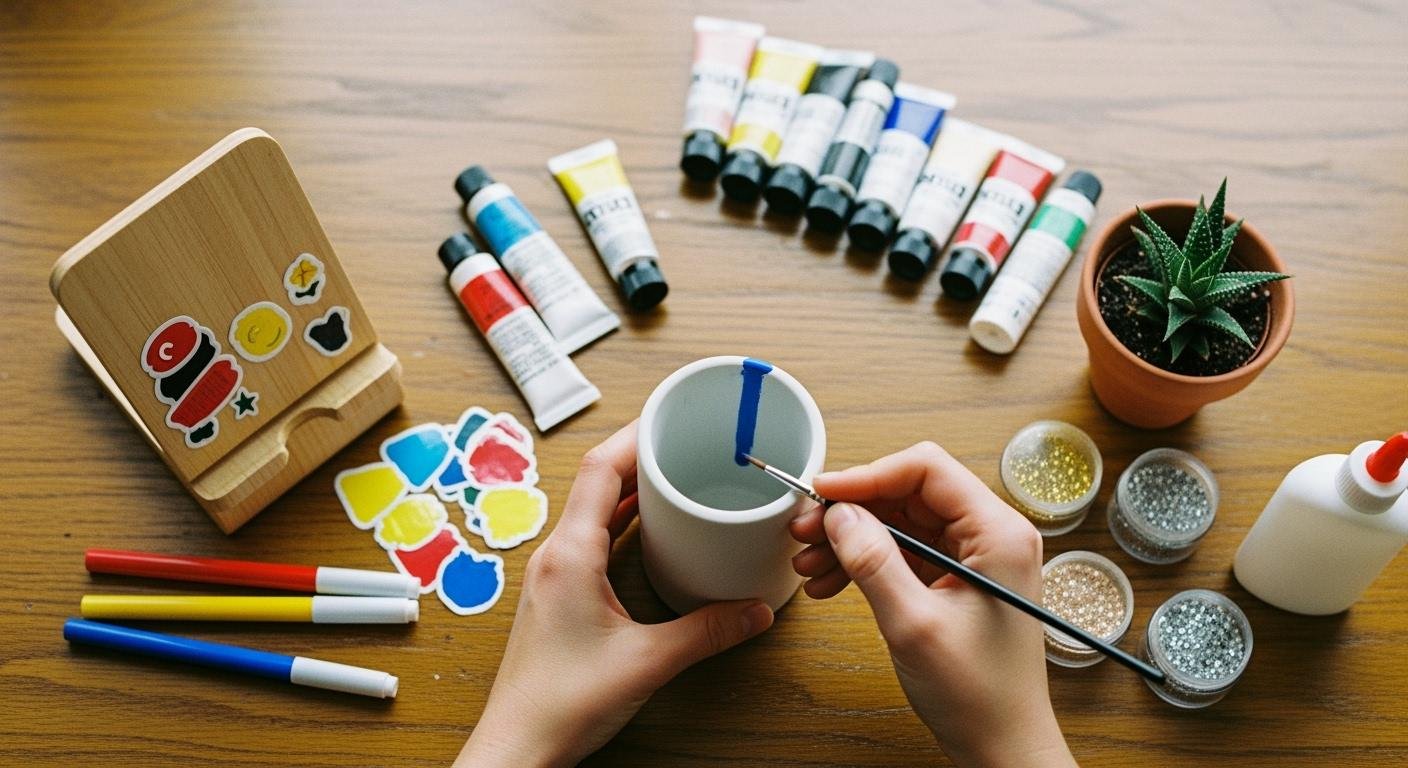
The adhesive you choose depends on your decorations. For most stickers, their own backing is strong enough. If you’re adding heavier items like gems or metal charms, you’ll need something stronger. A clear craft glue or a small dot of super glue works well. Always apply a tiny amount to avoid messy overflow that could ruin the look of your photocard display.
Essential Decorating Tools
Having the right tools makes decorating so much easier, especially when working with tiny items. You don’t need a lot, but one tool is a must-have.
Pro Tip: Craft tweezers are your best friend! They give you total control for placing small stickers, gems, and letters exactly where you want them. This precision is key to creating a neat design that perfectly frames your photocard.
Other helpful tools include a pair of small, sharp scissors for trimming washi tape and a craft knife for detailed sticker work. Getting your tools ready beforehand lets you focus on the fun part: creating a beautiful home for your favorite photocard!
Decoration Ideas for Acrylic Photo Card Holders
Now for the really fun part: decorating! This is where you can let your creativity shine and make your acrylic photo card holders truly one-of-a-kind. You can transform a simple frame into a piece of art that celebrates your favorite idol. Let’s explore some popular and easy techniques.
Sticker Layering Techniques
Stickers are a fantastic starting point for personalizing holder designs. You can create amazing depth and personality just by layering them. Start with larger background stickers and then add smaller, more detailed ones on top.
A great strategy is to mix different types of stickers. Combine official stickers from your favorite group with other designs that match the aesthetic of your photocard. For example, you could use holographic star stickers for a dreamy concept or delicate floral stickers for a soft, romantic vibe. Alphabet stickers are perfect for spelling out your bias’s name or a favorite song title. Don’t be afraid to overlap them to create a cool, collage-like effect.
Washi Tape Framing
Washi tape is perfect for creating clean, colorful borders around your photocard. It comes in endless patterns and colors, so you can easily find one that complements your theme. Simply apply the tape along the edges of the holder’s opening to create a neat frame. You can even layer different washi tapes for a unique look.
Easy Removal Tip: Want a simple way to get your photocard out without smudging it? Fold a small piece of washi tape over the top edge of the card, leaving a little tab sticking out. This gives you a handy pull-tab for easy and safe removal!
Adding Sparkle with Gems
Who doesn’t love a bit of sparkle? Adding gems or rhinestones can make your design pop and catch the light beautifully. You can place them in the corners, create a border, or highlight parts of your sticker design. For the best results on acrylic photo card holders, keep these points in mind:
- Choose non-hotfix flatback rhinestones. These have a flat back that makes them easy to glue down.
- Use a strong, clear craft adhesive. A tiny dot of glue is all you need for each gem.
- Avoid heat! Hotfix gems require heat to activate their glue, which can damage the acrylic.
Using the right gems and glue will ensure your sparkly display lasts a long time.
Using Charms for 3D Effects
To take your design to the next level, try adding small charms. These can be tiny resin hearts, metal stars, or even miniature versions of your bias’s favorite things. Charms add a cool 3D element that makes your holder stand out.
Since charms are heavier than stickers, you’ll need a strong adhesive like super glue or a clear gel craft glue. Apply a small amount to the back of the charm and press it firmly onto the holder. Arrange them around your photocard to add texture and a unique focal point.
Themed Inspirations for Your Holder
Choosing a theme is a great way to start personalizing holder designs. A theme helps you pick colors, stickers, and charms that all work together. This makes your final creation look cohesive and professional.
Album and Era Concepts
You can match your holder to the album your photocard came from. Think about the colors and symbols from that era. For a dark, edgy concept, you might use black and red stickers. For a bright, summer concept, you could use pastel washi tape and floral charms. This connects your holder directly to the music and style of that specific photocard.
Custom Themes for Your Bias
Create a truly personalized holder by focusing on your bias! What are their favorite colors or animals? You can build a custom theme around their personality. If they love cats, add cute cat paw stickers. If their representative color is purple, use different shades of purple gems and tape. This is a fun way to show what you love about them.
Designing Stylish Acrylic Photo Card Holders
Sometimes, simple is best. You can create very stylish acrylic photo card holders with a limited color palette. These elegant designs let your photocard be the main star. For a timeless look, try using:
- Neutral tones like beige, gray, and black.
- Matte finishes for a sophisticated, understated feel.
This minimalist approach creates a clean frame that looks great with any photocard.
Seasonal and Holiday Designs
Celebrate the holidays with your collection! You can easily decorate your acrylic photo card holders for any season. For winter, you could add silver snowflakes and glitter. For a festive Christmas theme, try using stickers of:
- Peppermint candy
- Green holly
- Jolly Santa
Changing your decorations for holidays is a fun way to keep your display fresh and exciting all year long.
Creating Custom Acrylic Photocard Holders
Ready to go beyond stickers and gems? You can create completely custom acrylic photocard holders that are 100% your own. There are two main paths for this ultimate customization. You can use an online service for a professional finish, or you can get hands-on and make your own shapes at home. Both options let you design a truly unique frame for your favorite photocard.
Using a Customization Service
Using an online service is the easiest way to get professional, fully customizable holders. Many companies let you upload your own artwork. You can design a holder that perfectly matches your photocard or create something totally new. Some services, like suppliers on Alibaba.com, offer advanced options like UV printing and holographic effects. You can often choose from pre-made templates to get started, making the process simple. This is a great way to bring your digital designs to life on a physical holder.
DIY Custom Holder Shapes
If you enjoy crafting, you can make your own custom holder shapes from acrylic sheets. This gives you total creative freedom. Cutting acrylic requires care and the right tools.
Here’s a simple method for thin sheets:
- Mark your cut line on the acrylic.
- Use a metal ruler and a scoring knife to score the line 5–10 times.
- Place the scored line along a table edge.
- Press down firmly to snap the sheet cleanly.
Safety First! 👷♀️ Always wear safety goggles to protect your eyes. Work in a well-ventilated area and clamp the acrylic down so it doesn’t move while you work.
After cutting, you can sand the edges for a smooth finish. This method lets you create any shape you can imagine for your custom acrylic photocard holders.
Sharing and Selling Your Designs
Once you create your amazing custom acrylic photocard holders, don’t keep them to yourself! You can share your unique designs on social media platforms like Instagram or Lemon8 to inspire other fans. If you get really good at it, you could even consider selling your creations on sites like Etsy. Sharing your work is a fantastic way to connect with the fan community.
You’ve learned everything from prepping your holder to creating fully custom designs. This guide makes personalizing holder projects fun and easy. Now it’s your turn to create a personalized home for your favorite photocard! We can’t wait to see your amazing photocard designs on social media platforms like Lemon8 or Instagram. ✨
よくあるご質問
How do I clean my decorated holder?
Gently wipe the surface with a soft, damp microfiber cloth. You should avoid harsh chemicals or abrasive scrubbers. These can scratch the acrylic or damage your decorations. This simple care keeps your display looking great.
Can I remove stickers and gems later?
It depends on the adhesive you use. Washi tape and some stickers peel off easily. Stronger glues for gems are usually permanent. If you like changing your designs, use decorations with less sticky adhesive.
Where can I find good stickers and charms?
You can find amazing supplies at many places!
- Local craft stores
- Stationery shops
- Online marketplaces like Etsy
Many K-pop shops also sell official sticker packs that are perfect for your acrylic photo card holders.
What if I make a mistake with the glue?
Act quickly! You can often wipe away wet craft glue with a damp cloth. For super glue, a tiny amount of acetone (nail polish remover) on a cotton swab can help. Always test it on a hidden spot first.
Is it better to decorate a holder or order a custom one?
Decorating is fun for a personal touch! If you want a unique shape or printed design, ordering custom acrylic photocard holders is a great option. It all depends on the final look you want for your custom design.
See Also
Clever Home Styling: 10 Ideas for Small Acrylic Trays
Personalize Your Space with Elegant Acrylic Tray Accents
Innovative Decor: Acrylic Trays with Inserts for Unique Style

