

You can achieve a clean, museum-quality display right at home. This diy project lets you create custom decor while saving money, giving you a huge sense of satisfaction.
Did you know? The diy home decor market is booming! Experts project it will grow to over $372 billion by 2031 as more people create their own unique pieces.
This easy tutorial guides you in making your own stunning diy floating picture frame. You can build beautiful diy acrylic frames with just a few simple steps.
Essentials for DIY Acrylic Frames

Before you start, let’s gather everything you need. Having the right materials and tools on hand makes this project smooth and fun. These instructions will help you prepare for your diy project.
Acrylic Sheets and Standoffs
The core of your photo frame is two acrylic sheets and a set of standoffs. You want sheets that are larger than your print to create that beautiful floating effect. Standoffs are the metal or acrylic hardware that hold the sheets together and mount them to the wall. You have a few great options for hardware:
- Aluminum: This is a lightweight and sturdy choice, perfect for indoor use.
- Brass: Choose brass if you want a more elegant, vintage look. It resists tarnishing.
- Acrílico: Clear standoffs create a seamless, modern look for your diy acrylic frames.
Photo or Artwork Print
Your choice of print matters for a long-lasting display. Early inks used for photos would fade quickly, but modern inks are much better. For archival quality, you should choose prints made with pigment-based inks. They are more durable and resist fading far better than dye-based inks.
| Caraterística | Dye-based Inks | Pigment-based Inks |
|---|---|---|
| Durability | Less resistant to fading | Highly durable and water-resistant |
| Longevity | Less suitable for archival use | Superior for long-lasting displays |
| Smudging | Can smudge if wet | Resists bleeding and smudging |
Required Tools List
You don’t need a full workshop for this tutorial! Just grab these basic tools to get the job done right.
- Electric drill
- Painter’s tape
- A small drill bit
- Clamps
- Screwdriver
- A piece of scrap wood
- Clear glue dots
- Safety goggles 👓
Pro Tip: Use a step bit or a drill bit made specifically for plastic. Standard bits can grab and crack the acrylic. Drilling slowly and carefully is key to getting a clean hole without any damage.
Preparing Your DIY Floating Picture Frame
This is where your frame really starts to take shape! Taking your time and being precise in this stage is the secret to a professional-looking result. Let’s walk through the preparation steps together.
Measure and Mark Drill Locations
Accurate measurements ensure your standoffs will be perfectly even. First, leave the protective film on your acrylic sheets. This film is great for preventing scratches while you work.
- Apply a small piece of painter’s tape to each of the four corners on your top acrylic sheet. The tape makes it easy to see your marks and adds another layer of protection.
- Using a ruler and a pencil, you will mark the drill spot on each piece of tape. A good rule of thumb is to place your hole about 1 inch in from each side.
- For example, measure 1 inch from the top edge and make a small line. Then, measure 1 inch from the side edge and make another line that crosses the first one. The “X” you just made is your drill point!
- Repeat this for all four corners. Double-check your measurements to make sure they are all identical.
Quick Tip: Always measure from the edge of the acrylic, not the edge of the tape. This ensures your holes are placed exactly where you want them on your diy floating picture frame.
Clamp and Drill the Holes
Drilling is the most critical part of this diy tutorial. Going slowly and using the right technique will prevent cracks and give you clean holes.
First, align your two acrylic sheets perfectly, with the marked sheet on top. Use clamps to secure them tightly to your piece of scrap wood. Clamping them together guarantees that the holes on both sheets will line up perfectly.
Now you are ready to drill. Remember these key instructions to avoid melting or cracking the acrylic:
- Start Small: Drill a small “pilot hole” first on each mark. This guides the larger drill bit and reduces pressure.
- Go Slow: The right drill speed is important. Too fast, and you risk melting the acrylic; too slow, and it might chip. A moderate speed is usually best.
- Cool It Down: Keep a small spray bottle of water handy. Misting the drill bit and acrylic every 5-10 seconds prevents overheating.
- Light Pressure: Let the drill do the work. Pushing too hard can cause the acrylic to crack, especially as the bit is about to exit the bottom.
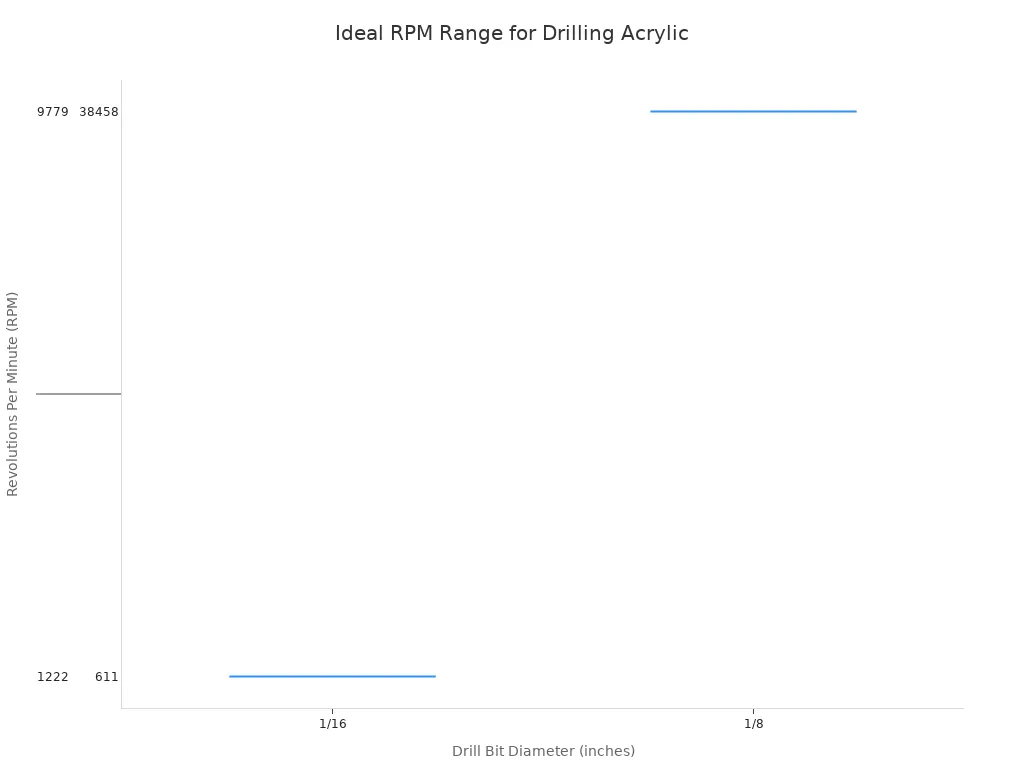
Drill speed depends on your bit size. Generally, smaller bits work better with higher speeds, while larger bits need slower speeds.
| Drill Bit Diameter | Recommended Speed |
|---|---|
| Small (e.g., 1/8″) | Faster (around 1000 RPM) |
| Medium (e.g., 1/4″) | Moderate (around 750 RPM) |
| Large (e.g., 1/2″) | Slower (around 500 RPM) |
This chart shows how the ideal speed range changes with the size of your drill bit.
Peel Corner Film and Clean Surfaces
Once all your holes are drilled, you can remove the clamps. Now, carefully peel back the protective film from the corners where you drilled. You can also remove the painter’s tape. Don’t peel the entire film off yet! You’ll do that at the very end to keep the surfaces pristine.
It’s time for a quick clean. You need to remove any dust or fingerprints from the inner surfaces of your diy acrylic frames.
Warning: Never use cleaners containing alcohol (like rubbing alcohol or many glass cleaners) on acrylic! Alcohol can cause tiny cracks to form, a process called “crazing,” which will ruin the clear look of your frame over time.
The safest and most effective way to clean your sheets is simple:
- Use a soft, microfiber cloth.
- Mix a tiny drop of mild dish soap with water.
- Lightly dampen the cloth with the soapy water and gently wipe the surfaces.
- Use a separate dry section of the cloth to buff it dry.
Your acrylic sheets are now prepped and ready for assembly!
Assembling Your Floating Acrylic Frame

You’re in the home stretch! With your acrylic sheets prepped, it’s time for the most exciting part: putting it all together. This is where your print and hardware combine to create a stunning piece of wall art. Let’s assemble your beautiful photo frame.
Position and Secure the Photo
First, you need to perfectly center your artwork. This creates the signature “floating” look.
- Take your back acrylic sheet (the one that will be against the wall) and place it on a clean, soft surface.
- Carefully peel the rest of the protective film off this sheet’s inner surface only.
- Place your print face up on the acrylic. Use a ruler to measure the borders on all four sides, adjusting the print until it’s perfectly centered.
- To keep your photos from slipping over time, you need to secure them. Place one clear glue dot on the back of each corner of your print. Press it down firmly onto the acrylic. This is how you add photos to acrylic like a pro.
More Ways to Secure Your Art Glue dots are great for a quick diy project, but for archival pieces, you have other options. These tapes are acid-free and won’t damage your art over time.
- Framers Tape: This is a strong, permanent tape designed for mounting artwork.
- Double-Stick Tape: An excellent alternative that creates a flat, invisible bond for your display.
- Stitchery Tape: If you’re framing fabric or embroidery, this double-sided tape holds the material taut without causing stains.
Attach the Standoff Barrels
Now, let’s get the hardware ready. Standoffs come in several parts, but the assembly is simple. You can find them in many styles to match your decor.
- Flat Top Standoff (most common)
- Stainless Steel Security Standoff
- Wooden Standoff
- Adhesive Standoff
Here’s how you attach the barrels to your frame:
- Take your front acrylic sheet and peel the protective film from its inner surface.
- Carefully place it on top of your photo, aligning the drill holes perfectly with the back sheet. You’ve now created an “acrylic sandwich.”
- Insert the standoff screws (the threaded studs) through the back sheet so they poke through the front.
- Screw the standoff barrels onto the front of the screws. Hand-tighten them until they are snug. Your frame is now held together!
Mark and Drill Your Wall
It’s time to move to the wall. Precision here will ensure your frame hangs perfectly straight.
- Hold your assembled frame against the wall where you want it to hang.
- Place a small level on the top edge of the frame. Adjust the frame until the bubble is centered.
- Once it’s level, use a pencil to mark the wall through the center of each of the four standoff barrels. You can also use a special tool like a transfer punch to make a precise mark.
- Set your frame aside. You should now have four perfect marks on your wall.
- Drill a hole on each mark. If you’re drilling into drywall, you’ll need to use wall anchors to support the weight of the frame.
Choosing the Right Wall Anchor For most diy acrylic frames under 15 pounds, simple plastic expansion anchors work great. For a stronger hold, you might consider self-drilling drywall anchors, which screw directly into the wall and can hold more weight.
Mount the Frame Securely
Ready for the final step? Let’s get that masterpiece on the wall. This is the moment your floating acrylic frame comes to life.
- Install your wall anchors into the holes you just drilled. Then, screw the mounting screws into the anchors, but don’t tighten them all the way. Leave the screw heads sticking out about 1/4 inch from the wall.
- Lift your frame and hang the standoff barrels onto the four screws. The hollow end of the barrel should slide right over the screw head.
- Use a Phillips screwdriver to tighten each of the four screws through the center of the barrels. This will pull the frame securely against the wall.
- Finally, screw the decorative standoff caps onto the front of the barrels. Tighten them by hand.
Warning: Be careful not to over-tighten the caps! Acrylic can crack under too much pressure. A good rule is to tighten each cap until it’s snug, then back it off by about a half-turn. This gives the acrylic a little room to expand and contract with temperature changes.
Peel off the remaining outer protective film, step back, and admire your work. You did it!
Congratulations! You just created a beautiful diy floating picture frame. You turned simple materials into a modern display with an easy diy process. Now, you can experiment with other projects.
Get Creative with Your Next Project!
- Build a gallery wall using different sizes of diy acrylic frames.
- Try colored standoffs from suppliers like 1801 & Co. for a unique look.
- Frame special items like ticket stubs or dried flowers.
We would love to see your finished photos! Share your creations with us online.
FAQ
Have a few more questions? You’re not alone! Here are some common queries we get about making DIY acrylic frames.
What thickness of acrylic should I use?
You should choose a thickness based on your frame’s size.
- Small Frames (under 12×12 inches): 1/8-inch sheets work perfectly.
- Large Frames (over 12×12 inches): Use 1/4-inch sheets. They provide better support and prevent the acrylic from bowing over time.
Can I cut acrylic sheets at home?
Yes, you can cut acrylic yourself. For thin sheets, you can score them with a utility knife and snap them cleanly. Thicker sheets need a power saw with a blade made for plastic. Many home improvement stores will also cut the sheets for you.
How do I clean my finished acrylic frame?
You can easily keep your frame looking new. Gently wipe it with a soft microfiber cloth and a bit of soapy water.
Remember: Never use glass cleaners containing ammonia or alcohol! These harsh chemicals can create tiny cracks and permanently cloud your acrylic. 🧼
See Also
Clever Home Styling: Ten Innovative Uses for Small Acrylic Trays
Debunking Acrylic Tray Myths: Simple DIY Projects for Creative Home Decor
Elevate Your Home: Acrylic Trays as Modern Decor Essentials for 2025
Your Comprehensive Guide to Mastering Acrylic Table Stands for Display
Innovative Display Solutions: Utilizing Acrylic Tabletop Stands for Showcases Effectively

