
You use an acrylic block to mount your clear and cling rubber stamps. It holds the stamp so you can press an image onto paper. But what if that is only scratching the surface? If you only use it to hold stamps, you are missing out. The advantages of using acrylic blocks go beyond simple mounting. This guide will show you how to use acrylic blocks and master how to stamp with an acrylic block. You will transform your clear acrylic blocks from a basic holder into a crafting powerhouse.
Did You Know? The arts and crafts market is growing fast! The handmade part, where your stamps shine, makes up about 25% of the total market. Using your tools well is key.
The clear acrylic stamps you own have more potential with the right acrylic stamp block. Let’s unlock it.
Mastering Your Acrylic Block
You can perfect your stamping technique with a little practice. Your acrylic block is the key to getting crisp, clean images every time. Let’s break down the process and fix some frequent errors. This is how to stamp with an acrylic block like a pro.
The Stamping Workflow
A great stamped image starts with a great workflow. Following these steps helps you build muscle memory for flawless results.
- Prepare Your Stamp. New photopolymer stamps sometimes have a sticky residue. You can “season” them by gently rubbing a white eraser over the stamp’s surface. This helps ink stick to the stamp more evenly.
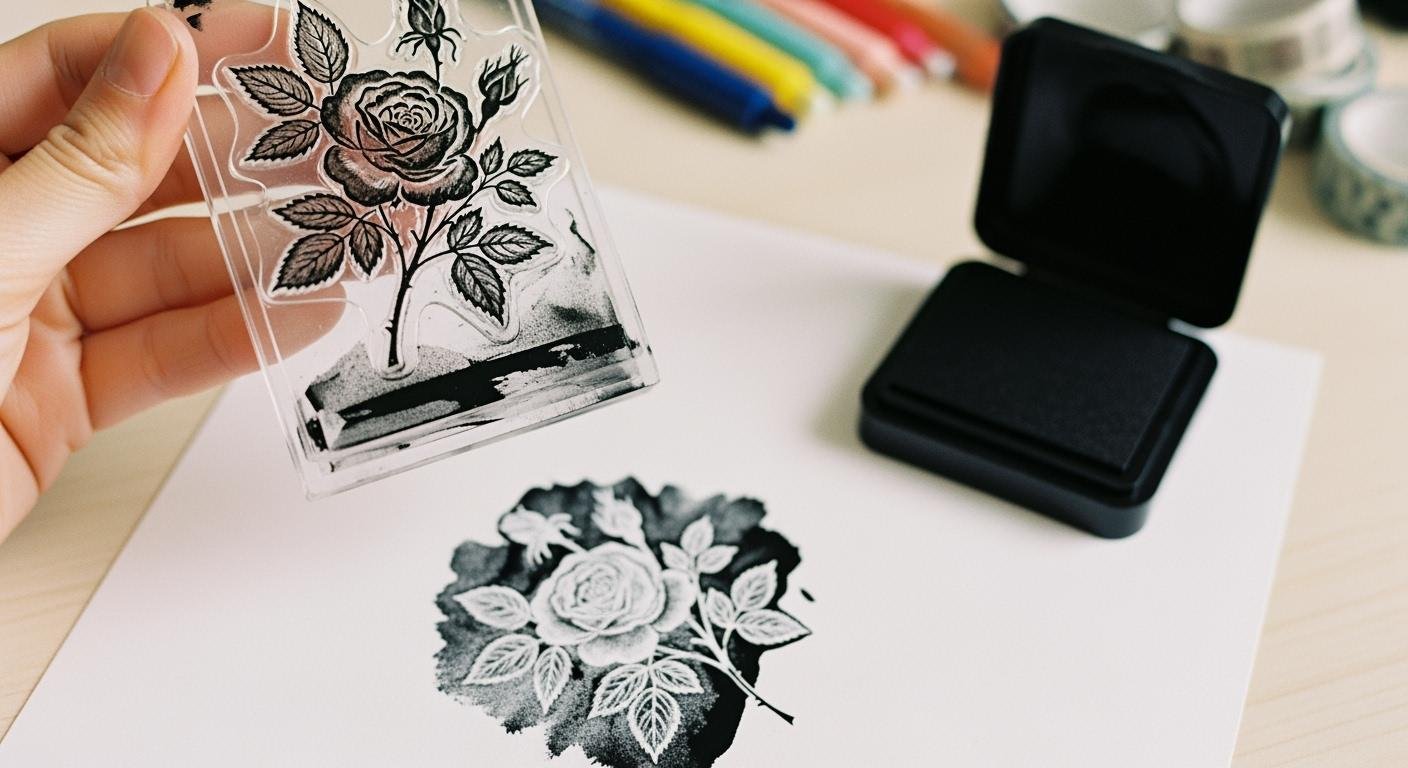
- Mount the Stamp. Peel your stamp from its acetate sheet. Place its sticky side onto one of your clear acrylic blocks. You should choose a block that is slightly larger than your stamp. This gives you a better grip.
- Ink the Stamp. Lay the acrylic stamp block on your work surface with the stamp facing up. Take your ink pad and gently tap it across the stamp. This method prevents you from getting ink on the block itself. Ensure the entire design is coated.
- Position and Press. Pick up the block and position it over your paper. The transparency of clear acrylic blocks makes this step easy. Press straight down with firm, even pressure. For larger stamps, use both hands to keep the block stable and avoid rocking it.
- Lift and Reveal. Hold the block steady for a few seconds. This allows the ink to transfer fully. Then, lift the block straight up to reveal your perfect image. Lifting quickly and directly prevents smudging.
Pro Tip: Always practice on scrap paper first! This helps you find the right amount of pressure for different stamps and inks. A soft stamping mat under your paper can also help you get a more even impression.
Using Grid Lines for Alignment
Many clear acrylic blocks feature etched grid lines. These lines are not just for decoration; they are your secret weapon for perfect placement.
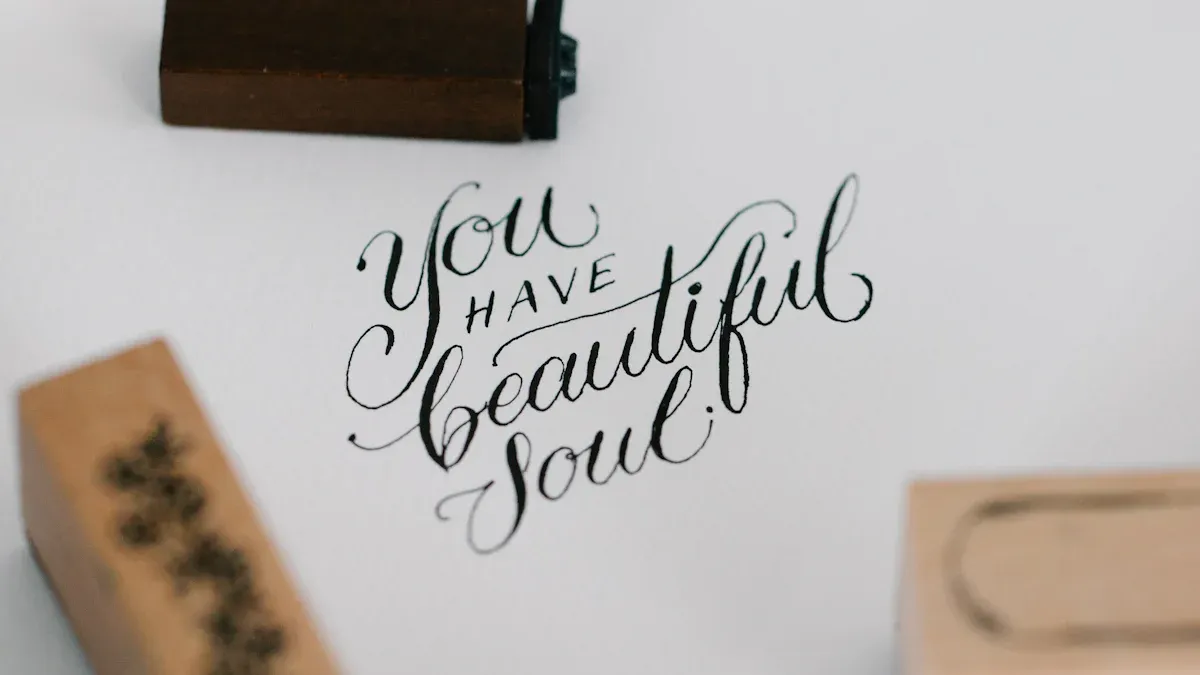
- Straight Sentiments: You can align text stamps with a horizontal line to ensure your greetings are perfectly straight.
- Building Borders: Use the grid to space out repeating stamps evenly, creating beautiful, uniform borders and patterns.
- Scene Stamping: When using multiple stamps to build a scene, the grid helps you place each element precisely in relation to the others.
The grid is also helpful when you first get your stamps. You can use it to align the sticker guides that come with some stamp sets, ensuring they match the stamped image perfectly.
Stamping Common Mistakes
Are you struggling with blurry, patchy, or smudged images? You are not alone. Here are some common problems and simple solutions for how to use acrylic blocks correctly.
| Problem | Likely Cause(s) | How to Fix It |
|---|---|---|
| Blurry or Smeared Image | Rocking the acrylic block; The stamp slipped during pressing; Too much ink on the stamp. | Press straight down and lift straight up. Hold the block firmly. Tap the ink pad lightly onto the stamp. |
| Patchy or Faint Image | Not enough ink; Uneven pressure; The ink pad is dry. | Re-ink your pad. Use a stamping mat for better pressure distribution. Season new stamps to help them hold ink. |
| Double Lines or “Shadows” | Shifting or wiggling the block while stamping. | Use a firm grip. For large stamps, use two hands for stability. Press down once and lift straight up. |
Learning how to stamp with an acrylic block is a skill. Each time you use your stamps, you will get more comfortable. Soon, these steps will become second nature, and you will produce amazing results every time.
Creative Uses for Clear Acrylic Blocks
You have mastered the basics of stamping. Now you can unlock the true potential of your clear acrylic blocks. These simple tools are more than just holders for your stamps. They are powerful instruments for your creative projects. You can use them as palettes, background creators, and finishing tools. Let’s explore some exciting techniques that go beyond basic stamping.
Ink Palette for Watercoloring
Your clear acrylic blocks make fantastic, reusable ink palettes. This is perfect for watercoloring stamped images without buying special paints.
- Press Your Ink. Take your favorite water-based ink pad. Press it directly onto the surface of an acrylic block. The non-porous surface holds the ink without absorbing it.
- Activate with Water. Use a water brush or a regular paintbrush dipped in water. Add a small drop of water to the ink on your block.
- Start Painting. Swirl your brush in the ink to pick up the color. You can now paint directly onto your cardstock. This is a great way to color in your outline stamps. You can add more water for a lighter shade or use more ink for a vibrant color.
Clean-Up Tip: When you finish, simply wipe the block clean with a damp cloth or a baby wipe. It will be ready for your next project in seconds.
The Ink Smooshing Technique
You can create stunning, abstract backgrounds with the ink smooshing technique. This method is a favorite in stamping and card making. It turns your clear acrylic blocks into artistic tools for one-of-a-kind designs.
You can create many different looks. For a galaxy background, you can press a dark ink like Black Soot onto a block. Mix it with water and smoosh it over a panel you already colored. You can dab the ink with a brush for a lighter, starry effect.
Here is a step-by-step guide to creating a layered, splotchy background:
- Apply Ink. Choose a Distress Oxide ink and press it directly onto a small acrylic block.
- Add Water. Lightly spritz the ink on the block with water. This helps the ink move and blend.
- Press and Lift. Press the inky side of the block onto your cardstock. Lift and press it again in different spots. This action creates beautiful, organic splotches.
- Dry and Layer. Use a heat tool to dry the first layer of ink completely. Then, you can apply a second color to the block. Pounce the block onto your paper to create a “psychedelic bloom” effect where the colors interact.
For a vibrant Rainbow Smoosh, you can dab several colors of ink onto a palette or your block. Spray the inks and your paper with a fine mist of water. Gently press the paper into the inks for a beautiful rainbow blend. This works well with many types of stamps.
A Pressing and Blending Tool
Your block’s usefulness does not stop with stamps and ink. Its solid, smooth form makes it a handy tool for assembling your projects.
- A Pressing Tool: After you glue down a die-cut or a paper layer, place a clean block on top. The weight provides even pressure. This ensures a strong, flat bond without getting your fingers sticky.
- A Folding Tool: You need a crisp fold for your card base. You can use the edge of the block. Run it firmly along a scored line. This creates a sharp, professional-looking crease every time.
These simple uses show how your blocks can improve your entire crafting process. They help you work cleanly and achieve polished results on all your projects that use stamps.
Choosing and Caring for Your Blocks
You can get the most out of your crafting tools by choosing the right ones and taking care of them. Your clear acrylic blocks are no exception. Selecting the correct size and keeping them clean will improve your stamping and make your tools last longer.
Finding the Right Size and Shape
You will find that acrylic blocks come in many sizes and shapes. This allows you to choose the best fit for your stamps and projects. Having a few different sizes gives you more control and comfort.
- Small Blocks: These are great for tiny stamps or adding small details.
- Medium Blocks: You will use these most often. They are versatile for standard-sized stamps.
- Large Blocks: Use these for big background stamps or when you want to arrange multiple stamps at once.
You should choose a stamping block that is slightly larger than your stamp. An overly large block can be hard to handle. The most common shapes are rectangles, squares, and circles. Rectangular blocks are very versatile, while square blocks help you apply even pressure.
Beginner’s Tip: If you are just starting, blocks C, D, and H are great choices. They cover most stamp sizes and are very versatile.
| Block | Dimensions (cm) | Dimensions (inches) |
|---|---|---|
| C | 5.1 x 5.7 | 2 x 2-1/4 |
| D | 7.3 x 6.8 | 2-7/8 x 2-11/16 |
| H | 11.3 x 4.1 | 4-7/16 x 1-5/8 |

Cleaning and Maintenance
Keeping your clear acrylic blocks clean is essential for clear stamping. Ink and oils from your fingers can build up on the surface.
For regular cleaning, you can use a simple solution of mild soap and water. Wipe your acrylic stamp block with a soft, lint-free microfiber cloth. Avoid using cleaners with ammonia or acetone. These chemicals can cause cracks or make the surface look frosted.
If your acrylic block has fine scratches, you can use a special polish like Novus.
- Novus #1 cleans and protects the surface.
- Novus #2 helps remove fine scratches and haziness.
Storage and Scratch Prevention
Proper storage protects your blocks from damage. Scratches can interfere with how your stamps stick and how you see through the block.
You should always use soft materials like microfiber cloths for cleaning. Paper towels seem soft, but their fibers can create tiny scratches on the surface. Store your blocks away from sharp or abrasive tools. You can keep them in a drawer, a container, or a special rack. This simple step keeps them ready for your next project with your favorite stamps.
You have seen your acrylic block transform. It is more than a stamp holder. You can use it as an ink palette, a background creator, and a pressing tool. Its clear, solid form is so versatile that professionals use similar blocks for everything from art gallery displays to food presentation. This simple tool is truly an essential part of your craft kit.
Now it’s your turn! Pick one new technique from this guide. See what new possibilities you can unlock with the tools you already own. 🎨
FAQ
Why won’t my stamp stick to my block?
Your stamp needs a clean surface to cling properly. Oils from your fingers or leftover ink residue can prevent a good grip. You should wash your block with mild soap and water. A clean block ensures your stamp stays put.
Can I use any ink for the smooshing technique?
You will get the best results with water-based inks, like Distress Inks or Distress Oxides. These inks react with water, which allows them to blend beautifully. Permanent inks will not work for this technique because they do not move with water.
What is the best acrylic block for a beginner?
You should start with a medium-sized block. A block around 3×4 inches is very versatile for many projects. It fits most standard sentiment and image stamps. This size gives you a great starting point before you buy more blocks. 👍
How is a stamping platform different from a block?
A stamping platform has a hinged lid. You can re-stamp an image in the exact same spot to make it darker or fix mistakes. An acrylic block is a simple, handheld tool for single impressions. Both are useful for different stamping needs.
See Also
Acrylic Blocks: Understanding Their Definition, Key Features, and Diverse Applications
Debunking Acrylic Tray Myths: Simple DIY Ideas for Creative Home Decor
Your Comprehensive Guide to Selecting the Perfect Acrylic Table Stands
Choosing and Cleaning White Acrylic Trays: A Complete Selection Guide
Buffing and Sanding Acrylic: Definition, Process, and Manufacturing Applications Explained

