

Do you worry about cracking the plastic when you try to make an acrylic frame? Forget the stress of drilling.
The secret to a flawless diy acrylic frame is a simple DIY hack. You use a heated metal tool to melt perfectly clean holes. This easy method is the most reliable way to get a professional result at home without any special equipment.
Your Acrylic Frame DIY Toolkit
You need just a few items to make an acrylic frame. This project creates beautiful, budget floating frames with minimal effort. Let’s gather your supplies.
Essential Supplies
You can find these materials for floating frame projects at most hardware stores. Your shopping list is short and simple for this easy DIY project.
- Two Acrylic Sheets: These will sandwich your artwork.
- Standoff Hardware: This hardware mounts the frame to the wall and gives it a “floating” look. You will need four standoff sets. A common size is 3/4″ in diameter. You can choose from many styles, including stainless steel for a modern look or even wood for a natural finish.
- A Large Metal Tool: A thick metal nail or a tent stake works perfectly for our melting method.
- Optional Items: A small level and painter’s tape can help with perfect wall placement later.
Pro Tip: Standoff hardware comes in various types. Flat Top standoffs are great for indoor use, while adhesive standoffs let you mount floating acrylic picture frames without drilling into the wall at all.
Getting Acrylic Cut to Size
The secret to professional-looking floating acrylic frames is having perfectly cut edges. You should have your acrylic sheets to make the frame cut at the store. This saves you time and prevents rough, uneven sides.
Many home improvement centers and local stores like Ace Hardware offer this service. Just bring your measurements with you. An expert associate will cut the acrylic to the exact size you need. This simple step is key to a successful acrylic frame diy project and ensures a clean, polished final product.
How to Make a DIY Acrylic Frame: The Process
Now you have your supplies ready. This section provides the simple steps for how to make a diy acrylic frame. Follow this acrylic frame tutorial to get a perfect result.
Marking Your Hole Locations
Accurate marks are the foundation of your frame. You will place one hole in each of the four corners. Proper placement ensures your floating acrylic frames hang straight and look professional.
- Keep the Film On: Leave the protective film on both sides of your acrylic sheets. This film protects the surface from scratches.
- Apply Tape: Stick a small piece of painter’s tape or masking tape over each corner where you plan to make a hole.
- Measure and Mark: Use a measuring tape to find the exact spot for each hole. A good rule is to place the center of the hole at least 15mm (about 0.6 inches) from any edge. This spacing helps prevent cracks. Use a pencil or non-permanent marker to mark the spot directly on the tape.
Quick Tip: Mark only one of your acrylic sheets. You will use this first sheet as a template to make perfectly aligned holes in the second one.
Making Crack-Free Holes
Here is the secret to a crack-free diy acrylic frame. You will melt clean holes instead of drilling them. This method avoids the pressure that causes acrylic to split.
Safety First! 🔥 Heating metal requires your full attention. You must take precautions to stay safe.
- Work Area: Choose a well-ventilated space away from any flammable materials. A concrete patio or garage floor is a good option.
- Protective Gear: Always wear heat-resistant gloves and safety goggles. Cotton or wool clothing is safer than synthetic materials.
- Tools: Use a sturdy pair of pliers to hold the metal nail or tent stake. Never hold it with your bare hands.
- Emergency Prep: Keep a fire extinguisher (Class ABC) nearby just in case.
The Melting Method: Step-by-Step
- Heat Your Tool: Using your pliers, hold the tip of the metal nail or tent stake in the flame of a gas stove or a propane torch. Heat it for about 30-60 seconds until it is visibly hot.
- Position and Press: Place your marked acrylic sheet on a flat, heat-resistant surface. Carefully align the hot tip of your metal tool with the mark on the tape.
- Melt the Hole: Apply gentle, steady pressure. The hot metal will melt through the acrylic and the protective film on both sides. It should only take a few seconds. You will create a perfect, clean-edged hole with no risk of cracking.
- Repeat for All Holes: Reheat your tool for each hole to ensure a clean melt every time.
- Use as a Template: Once the first sheet is done, place it directly on top of the second acrylic sheet. Align the edges perfectly. Push the hot tool through the existing holes of the top sheet to melt matching holes in the bottom one. This guarantees your standoff hardware will line up.
Why Not Just Drill?
Traditional drilling is the biggest reason people fail when they try to make an acrylic frame. Drills create heat and friction, which often leads to common mistakes:
- Cracking: Too much pressure can easily split the acrylic.
- Melting: The drill bit gets hot and can melt the plastic, creating a messy hole.
- Chipping: The edges of the hole can chip, ruining the clean look.
While special drill bits like step bits can work, our melting method is simpler and far more reliable for any DIY project.
Assembling Your Floating Acrylic Frame
With the holes made, the final assembly is quick and easy. You are just a few steps away from finishing your beautiful floating acrylic frame.
First, you need to clean the inside surfaces. Peel the protective film off one side of each acrylic sheet. These will be the two inside surfaces that sandwich your artwork. Use a microfiber cloth to wipe away any dust or fingerprints. Avoid ammonia-based cleaners, as they can make the acrylic cloudy. A little mild dish soap and water works great if needed.
Next, place your artwork on the back acrylic piece. If you are worried about it shifting, you can use a few small, removable glue dots on the back of the art to hold it in place. Carefully place the top acrylic sheet over the art, aligning the corners and holes perfectly. Your artwork is now securely sandwiched between the two sheets, ready for mounting.
The Secret to a Perfect DIY Acrylic Frame
You are now ready to hang your creation. Perfect wall mounting is the final step to achieving a professional look for your floating acrylic frames.
Using Your Frame as a Template
Using your finished frame as a guide is the best way to ensure perfect alignment on the wall. This simple trick guarantees your hardware will line up exactly.
- Position the Frame: Hold one of your drilled acrylic sheets against the wall. Ask a friend to help you hold it steady.
- Level It: Place a small bubble level on top of the sheet. Adjust the frame until it is perfectly straight.
- Mark the Holes: Use a pencil to mark the wall through each of the four holes in the acrylic. This gives you precise drilling points.
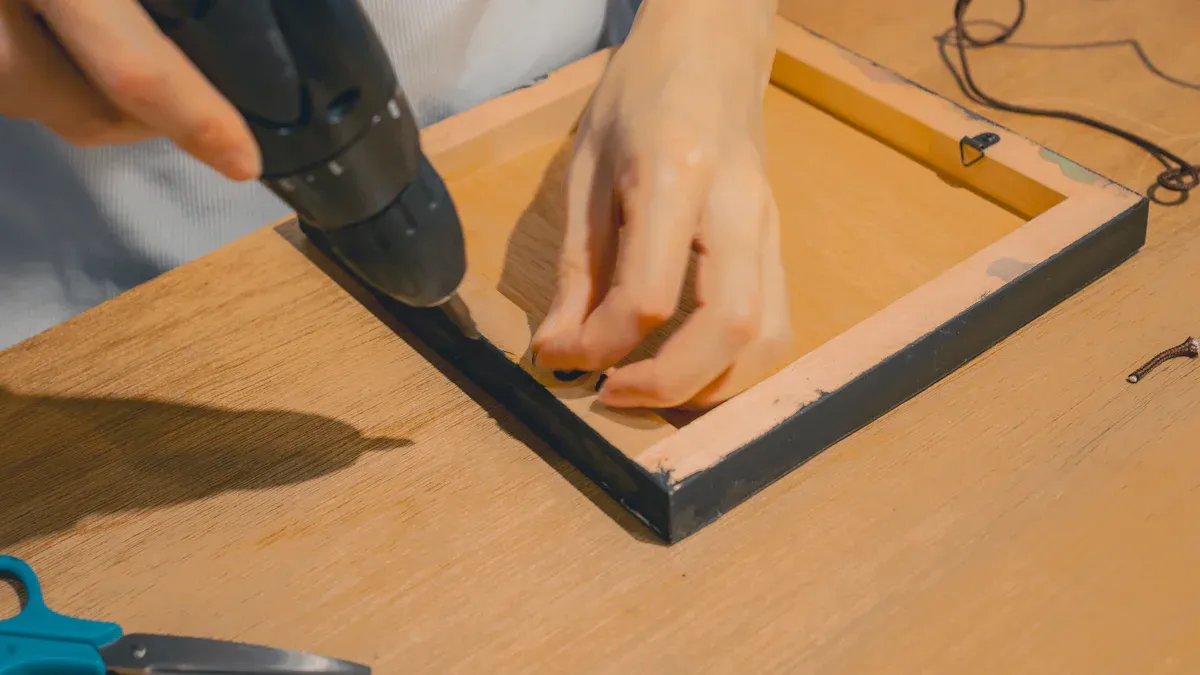
Installing the Standoffs
With your spots marked, you can now install the standoff hardware. You will drill holes and attach the standoff barrels to the wall. It is important to use the correct wall anchors for your wall type. For drywall or plaster, screw-in anchors or plastic sleeves provide a secure hold for most picture frames.
Drill a hole on each pencil mark. Then, insert your wall anchor and screw the standoff barrel securely into place. Repeat this for all four locations. Your hardware is now ready for the final assembly of your diy acrylic frame.
Mounting Your Artwork
The final step is to mount your artwork and secure it. This is where your project comes to life.
First, place your art between the two acrylic sheets. You can use a few removable, acid-free adhesive dots on the back of your art to keep it from shifting. These dots hold tightly but remove easily without leaving residue.
Next, carefully hang the sandwiched artwork onto the standoff barrels. Screw the standoff caps on by hand.
Important Tip: Tighten the caps until they are just snug. Do not overtighten them, as this can crack the acrylic. For a perfect finish on your floating acrylic frames, tighten the cap and then back it off a half-turn. This simple diy step protects the acrylic from pressure.
You now know the secret to a flawless result. The simple heat-piercing technique lets you make an acrylic frame without any cracks. You achieved a professional look while enjoying the lower cost of a DIY project compared to expensive custom framing. Now, enjoy your beautiful new display. You can even get creative and build a whole gallery wall with added texture for a truly unique home decor statement. 🎨
ЧАСТО ЗАДАВАЕМЫЕ ВОПРОСЫ
What if I don’t have a gas stove or torch?
You can use a long-reach lighter or even a candle flame. Heating the metal tool will take more time this way. Always work in a well-ventilated space. Your safety is the top priority. 🔥
What thickness of acrylic should I use?
You should choose an acrylic thickness of 1/8 inch (or 3mm). This thickness offers great rigidity for most art projects. It is also lightweight, making it easy for you to hang on your wall.
Can I use this melting method on other plastics?
Warning: You should only use this method for acrylic. Other plastics like polycarbonate or PVC can release harmful fumes when you heat them. Stick with acrylic for a safe and successful project.
How do I clean my finished acrylic frame?
You can clean your frame with a soft microfiber cloth. For tougher spots, use a small amount of mild dish soap and water. Never use cleaners with ammonia, like Windex. They will make the acrylic cloudy.
See Also
Your Comprehensive Guide to Acrylic Table Stands: Everything You Need
Exploring Acrylic Aquariums: Understanding Their Definition, Features, and Uses
Acrylic Boxes and Cases: Defining Their Structure and Practical Applications
Discovering Acrylic Blocks: Definition, Key Features, and Diverse Applications
Busting Acrylic Tray Myths: Unleashing Creativity with Simple DIY Ideas

